Let’s be real—balancing home life, a busy job, and planning meals can feel like trying to keep a dozen balls in the air without dropping any. If you’ve ever stood in the baking aisle, squinting at labels and wondering if a flour blend is actually gluten-free (and worth the hype), you’re not alone. That’s where this homemade gluten free flour blend comes in.
Imagine a single jar in your pantry that answers the call for pancakes, muffins, and even grandma’s secret cookie recipe—without the gluten, but with all the fluff, tenderness, and joy of baking. Sounds like a dream? Well, dream no more. This blend is a simple, budget-friendly answer to those store-bought mixes that leave your wallet crying and your cookies… crumbling.
Made with just three pantry-friendly ingredients—white rice flour, potato starch, and corn flour—this gluten free flour blend is a lifesaver, especially when baking for picky kids or a household that’s navigating food sensitivities. No complicated substitutions, no weird aftertastes, and definitely no drama.
Whether you’re whipping up birthday cupcakes at midnight (we’ve all been there) or prepping Sunday morning pancakes in your robe with one eye open, this blend fits right into your rhythm. It’s forgiving, versatile, and just the kind of kitchen magic that makes life a bit easier.
Ready to mix it up? Get ready—we’re about to explore a whole new world of gluten-free treats that’ll surprise you in the best way.
Contents
- 1 Why You’ll Love This Gluten Free Flour Blend
- 2 Ingredients (for about 1 kg of gluten free flour blend)
- 3 Equipment
- 4 Recipe Steps: How to Make the Perfect Gluten Free Flour Blend
- 5 Cooking Tips & Tricks
- 6 Personal Anecdote
- 7 Storage Tips for Your Gluten Free Flour Blend
- 8 Nutritional Information
- 9 Cooking & Prep Time Details
Why You’ll Love This Gluten Free Flour Blend
- It’s Reliable: You can count on it for consistent results in cakes, cookies, muffins, and more.
- Budget-Friendly: Store-bought blends can be pricey; making your own saves money without sacrificing quality.
- No Weird Ingredients: Just three real, easy-to-pronounce components.
- Picky-Eater Approved: Light texture, neutral flavor—your family won’t even notice it’s gluten-free.
- Great for Meal Preppers: Make a big batch once, and you’re set for weeks of effortless baking.
Ingredients (for about 1 kg of gluten free flour blend)
- 500 g (2 ¾ cups + 2 tbsp) white rice flour (finely ground)
- 300 g (1 ¾ cups + 1 tbsp) potato starch (not to be confused with potato flour)
- Use 200 grams (about 1 and 1/3 cups) of fine yellow maize flour—known in the UK as cornmeal.
Equipment
Before we start mixing like a kitchen chemist, here’s what you’ll need:
- A large mixing bowl (the kind that won’t try to run off the counter)
- A whisk or a sturdy wooden spoon
- A kitchen scale (for precision, but measuring cups work too!)
- Standard cups and spoon sets for portioning, in case you’re not weighing the ingredients.
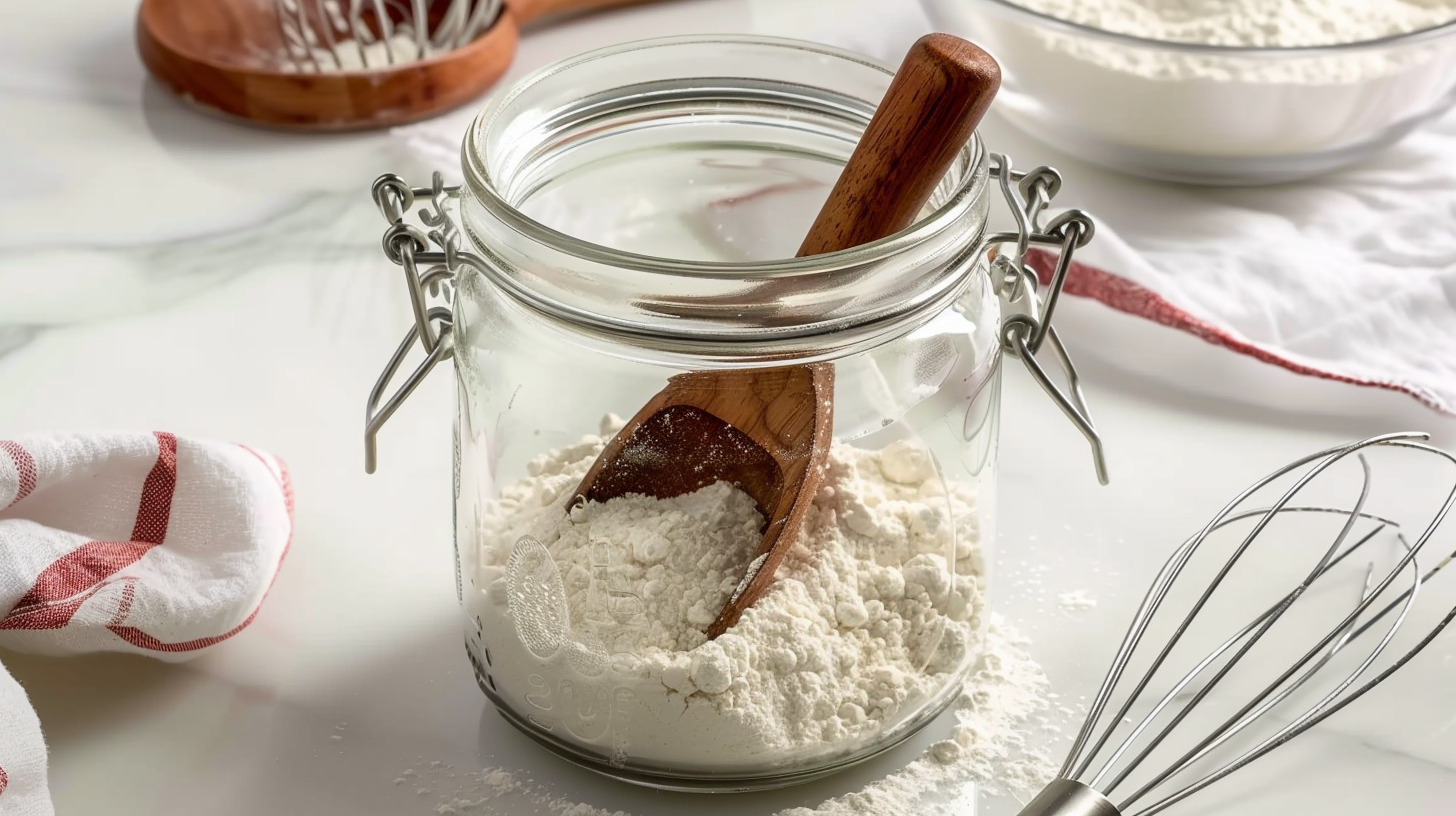
- Airtight glass jar or container (your new pantry MVP)
- Sticky label or masking tape (because mystery jars aren’t fun)
Recipe Steps: How to Make the Perfect Gluten Free Flour Blend
Step 1: Choose Your Workspace
Start with a clean, clutter-free countertop. This is your flour lab. Wipe down the surface and get comfortable—your future pancakes depend on this.
Step 2: Gather Your Ingredients
Lay out your three heroes:
- 500g white rice flour
- 300g potato starch
- 200g corn flour
If you’re anything like me, now’s a good time to double-check that what you grabbed isn’t potato flour. That one’s a whole different beast and not invited to this party.
Step 3: Measure Like a Pro
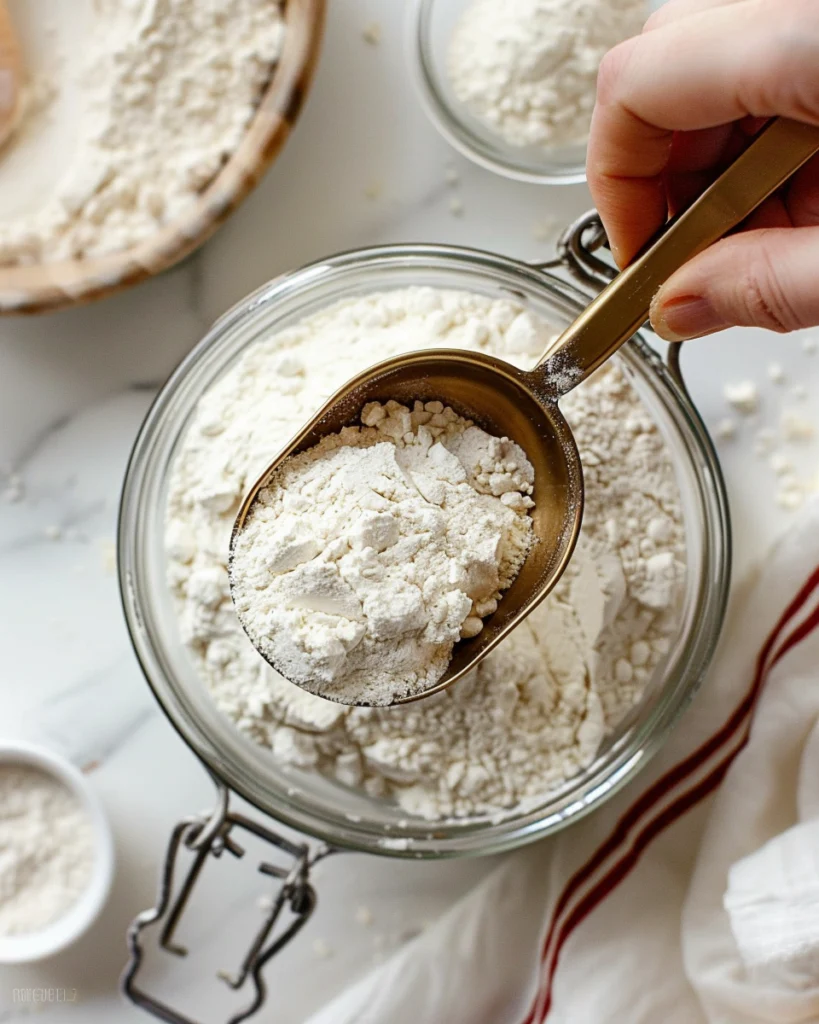
If you’re using a scale (gold star for accuracy!), place your bowl on it, zero it out, and weigh each Gluten Free Flour Blend one by one.
If you’re using cups and tablespoons, don’t scoop straight from the bag. Fluff the Gluten Free Flour Blend, spoon it into the cup, then level it off with the back of a knife. Trust me—it matters.
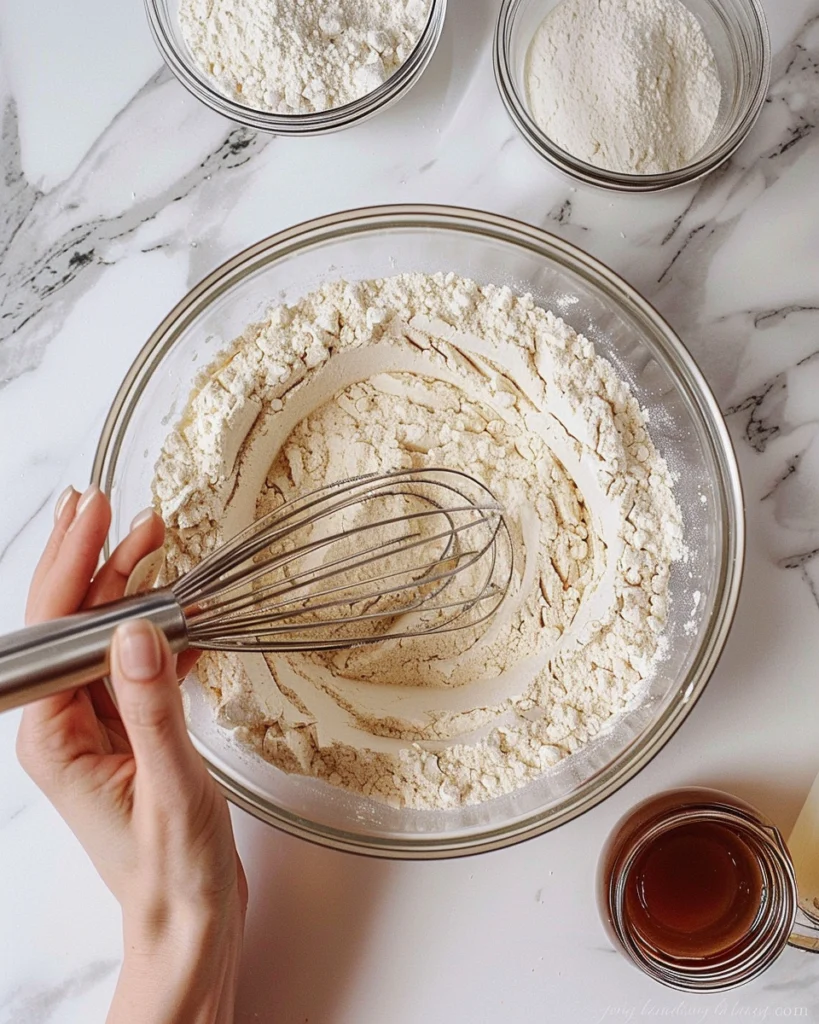
Step 4: Combine the Gluten Free Flour Blend
Once all three are in the bowl, grab your whisk (or spoon if you’re old-school) and mix thoroughly. You want everything evenly blended. No streaks, no clumps. Just one happy Gluten Free Flour Blend family.
Step 5: Test Your Blend (Optional but Fun)
If you’ve got an extra few minutes and a sweet tooth, try a half-batch of cookies or pancakes. This way, you’ll get to know how the gluten free flour blend behaves in your favorite bakes. Some people swear by this pre-test, and hey—any excuse to make cookies, right?
Step 6: Store Like a Boss
Pour your blend into a clean, airtight jar or container. If it’s see-through, even better. Slap on a label with the date and name (“Gluten Free Flour Blend”—no cryptic symbols or code names, please).
Keep it in a cool, dry place—think pantry, not next to the oven. If you live in a humid area, the fridge or freezer works great too.
Step 7: Use and Enjoy
This blend is perfect for:
- Muffins
- Quick breads
- Cakes
- Pancakes
- Cookies
Just substitute it cup-for-cup in recipes that call for all-purpose gluten-free flour. No need to adjust measurements—this blend has your back.
Cooking Tips & Tricks
Let’s make your Gluten Free Flour Blend life even easier:
- Whisk, Don’t Shake: If you store the Gluten Free Flour Blend for more than a week, give it a good whisk before using. The starch can settle like a grumpy cat at the bottom of the jar.
- Avoid Cross-Contamination: If your kitchen handles regular flour too, use separate containers and utensils. Gluten Free Flour Blend is sneaky—it’ll cling to everything like glitter after craft day.
- Add a Binder if Needed: Some recipes (like sandwich bread or pizza dough) might need xanthan gum or psyllium husk. Your blend doesn’t include it, so check your recipe.
- Make a Double Batch: This mix stores well for months in the freezer. I always make a double batch and thank myself later when I’m elbows deep in cookie dough with no time to spare.
- Label Everything: Seriously. That jar may look unmistakable now, but three weeks from now, it’ll be playing the “mystery ingredient” game. Add a cute label or just scribble with a marker—it saves guesswork and baking mishaps.
- Test with Old Favorites: Have a recipe your family loves? Use it to test this blend. That way, you’ll know if any tweaks are needed—and it keeps the taste testers happy.
- Don’t Panic at Texture Changes: Gluten-free batters sometimes look a bit different—thicker, runnier, or just…odd. Trust the process. Almost every time, it comes out of the oven looking just right
When my youngest started having reactions to gluten, I was overwhelmed. Overnight, every comfort food felt off-limits. I remember staring at the shelves, confused and a little heartbroken—until I decided to try my hand at making a flour blend myself. This exact recipe was born from many late-night Google sessions, flour-dusted counters, and failed muffins that could double as doorstops.
And if all else fails? There’s always frosting.
Personal Anecdote
But once I found the right balance? It was like flipping a switch. Pancakes were fluffy again. Cookies stopped crumbling into sadness. And most importantly, my little one felt included at the table.
These days, I always keep this gluten-free flour mix stocked on my shelf—it’s become a kitchen staple. And every time I see that labeled jar, I smile—because food should feel like home, no matter your dietary needs.
Storage Tips for Your Gluten Free Flour Blend
One of the best things about making your own gluten free flour blend—aside from how great it works in cookies—is that it stores beautifully. Whether you’re a batch-prepper or someone who likes to whip up pancakes on a whim, here’s how to keep your blend fresh, functional, and frustration-free.
Room Temperature Storage
If you go through flour fairly quickly (like within a month), a simple airtight container in a cool, dry pantry will do the trick. Just make sure the lid seals tight—moisture and gluten free flour are not friends. A mason jar or a BPA-free plastic container with a locking lid works great. Keep it away from direct sunlight and the stove, where heat can degrade the Gluten Free Flour Blend faster.
Refrigerator Storage
Want it to last a little longer? Pop it into the fridge. This is especially useful if your kitchen gets humid or warm during the summer months. Just like with pantry storage, use a sealed container. Pro tip: let the Gluten Free Flour Blend come to room temperature before baking with it, especially for more delicate recipes like cakes.
Freezer Storage
Planning ahead or just love bulk prep? The freezer is your best friend. You can keep your homemade gluten-free flour mix frozen and good to use for as long as half a year. Make sure it’s sealed tightly to prevent freezer burn or absorbing odors from, say, last week’s garlic bread. You can use freezer-safe zip bags or containers—just press out as much air as possible before sealing.
Labeling Is Life
Always—always—label your container with the date and name of the blend. You’d be surprised how many white powders end up in a pantry (baking soda, powdered sugar, cornstarch…) and guessing games can ruin a recipe fast.
Keep It Fresh Between Uses
Each time you dip into your Gluten Free Flour Blend, use a clean, dry scoop or spoon. No wet measuring cups straight from the sink. Even a little moisture can cause clumps—or worse, spoilage. And if your blend has been sitting a while, give it a good whisk before using to redistribute the starches evenly.
Bottom line: treat your gluten free flour blend like the MVP it is. Store it right, and it’ll reward you with better texture, better taste, and a whole lot less waste.
Nutritional Information
While a flour blend might not be the first thing that comes to mind when thinking about “nutritional powerhouse,” understanding what’s inside your gluten free flour blend can help you make smarter choices—especially when baking for loved ones with sensitivities.
This blend is made with three naturally gluten-free ingredients: white rice flour, potato starch, and corn flour. Together, they create a mixture that’s neutral in flavor and gentle on the digestive system. What it lacks in protein or fiber, it makes up for in versatility and accessibility.
White rice flour tends to be gentle on the stomach, though it doesn’t offer much in the way of fiber. That’s why many bakers pair this blend with high-fiber add-ins like flaxseed or almond flour when extra nutrition is needed. It’s a good source of energy thanks to its high carbohydrate content.
Though it’s mostly made up of carbs, potato starch works wonders in making your baked goods soft and airy. It also acts as a natural thickener.
Corn flour adds a slight sweetness and a small dose of vitamins like B6 and iron. It’s denser than rice flour, which helps provide structure to your recipes.
This Gluten Free Flour Blend doesn’t contain any added fats, cholesterol, or sugar. It’s naturally vegan, dairy-free, and nut-free—making it an excellent base for a wide variety of diets.
Keep in mind: since this is a flour base, it’s not meant to be eaten on its own but used as part of your recipes. Nutrition values below are based on a standard ¼ cup serving (approximately 30g), and actual nutritional impact will depend on what you bake with it.
Nutritional Information (based on a 1/4 cup portion, around 30 grams)
| Nutrient | Amount |
|---|---|
| Serving Size | 1/4 cup (30g) |
| Calories | 110 |
| Total Fat | 0.4g |
| Saturated Fat | 0g |
| Unsaturated Fat | 0.3g |
| Trans Fat | 0g |
| Cholesterol | 0mg |
| Sodium | 1mg |
| Total Carbohydrates | 25g |
| Dietary Fiber | 0.7g |
| Sugars | 0g |
| Protein | 1.1g |
| Calcium | 3mg |
| Iron | 0.4mg |
| Potassium | 35mg |
| Magnesium | 5mg |
| Vitamin B6 | 0.03mg |
| Folate | 3mcg |
Note: Values are approximate and based on generic ingredient data. Actual nutrition can vary based on specific brands or processing methods.
Cooking & Prep Time Details
Creating your own gluten free flour blend is one of the rare kitchen tasks that feels like a win even before you bake anything. It’s quick, clean (well, mostly), and doesn’t require preheating anything—hallelujah!
Here’s a breakdown of the time investment:
- Prep Time: 10 minutes
This includes measuring, mixing, and storing. If you’re chatting with a toddler while doing it or answering work emails mid-whisk, maybe give yourself a generous 15. - Cook Time: 0 minutes
No heat, no stovetop, no oven. Just mix and go! - Chilling Time: 0 minutes
This blend doesn’t require chilling before use. However, if you’re storing it in the fridge or freezer, allow it to come to room temp before baking for best results. - Total Time: 10 minutes
Yes, really. You’ll spend more time choosing your playlist than mixing this up. - Resting Time (optional): 5 minutes
If you’re using the blend immediately in a recipe, let it sit for a few minutes after mixing. This helps the starches settle evenly.
Yield
- Total Yield: 1,000 grams (approximately 8 cups of flour blend)
That’s enough for roughly 4 batches of cookies, 2 cakes, or a whole lot of fluffy pancakes. - Serving Yield: Varies depending on the recipe
Since this is a flour base, servings are determined by how much your recipe calls for.
Cuisine
- Cuisine: American
While gluten free diets span the globe, this particular blend is inspired by practical, home-baking needs commonly found in American kitchens. It’s a go-to for everything from Southern-style biscuits to classic chocolate chip cookies—without the gluten.
Whether you’re a seasoned gluten-free pro or just starting to explore the flour aisle with new eyes, having a homemade gluten free flour blend in your pantry is a total game changer. It saves time, cuts costs, and gives you back control—no more mystery mixes or label decoding marathons.
Plus, there’s something deeply satisfying about scooping from a jar you filled yourself, knowing exactly what’s in it and how it’ll behave in your favorite recipes. It’s a small kitchen win that makes a big difference—especially on those days when you’re running late, dinner needs to happen fast, and dessert must follow.
So the next time your cookie craving hits or you’re baking cupcakes for that last-minute school event, reach for your jar of gluten free flour blend. It’s there to make life a little easier—and a whole lot more delicious.
If you’re looking for a delicious dessert that’s both vegan and gluten-free, check out this Vegan Gluten Free Chocolate Cake with Oat recipe, which is a perfect combination of rich flavor and wholesome ingredients, And check out Gluten-Free Alchemist’s Guide to Gluten-Free Flours and Flour Blends for even more options and tips on gluten-free baking.
