Contents
- 1 Life’s Sweet Enough Without the Sugar Crash
- 2 Why You’ll Love This Sugar Free Cake
- 3 What You’ll Need
- 4 Let’s Get Baking: The Only Sugar Free Cake Recipe You’ll Ever Need
- 5 Step-by-Step: Your Sugar Free Cake Recipe in Action
- 6 Sweet Tips for Sugar Free Cake Success
- 7 A Little Slice of My Life
- 8 Storage Tips for Your Sugar Free Cake
- 9 Nutrition Breakdown: What’s Inside Your Slice of Heaven
- 10 Cooking Time & Yield Details
- 11 Can I substitute the Swerve Granular sweetener in this sugar free cake recipe?
- 12 Is this sugar free cake recipe suitable for diabetics?
- 13 Can I make this sugar free cake ahead of time?
- 14 Can I freeze this cake?
- 15 What can I use instead of grapeseed oil?
- 16 How do I store leftovers?
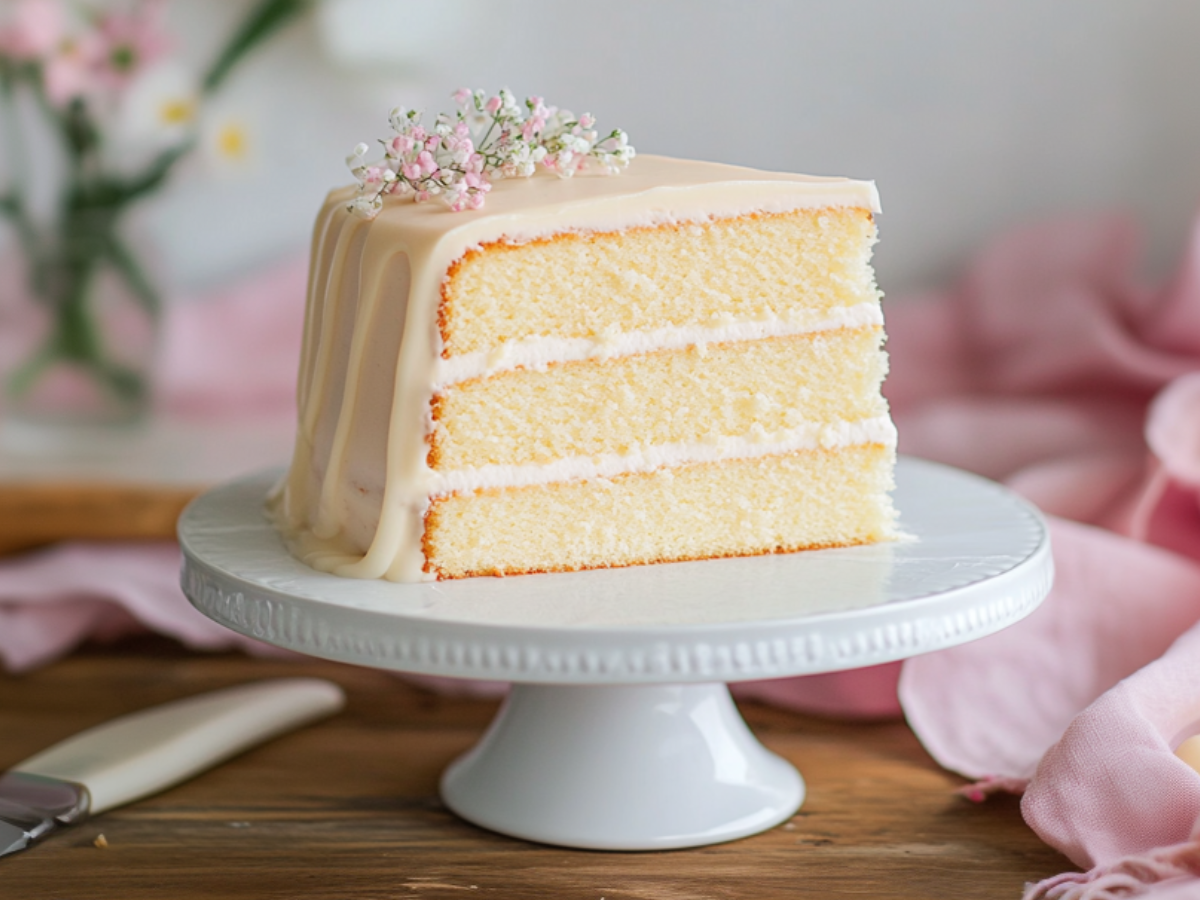
Life’s Sweet Enough Without the Sugar Crash
Let’s be honest—baking a cake without sugar used to sound like baking without love. But with this sugar free cake, you’re not just skipping the sugar, you’re skipping the guilt, the crash, and the mid-afternoon regrets.
Whether you’re trying to cut back for health reasons, wrangling little ones with a mile-long snack list, or just want a treat that won’t spike your energy then leave you snoozing on the couch—this cake’s got your back.
This isn’t one of those cardboard-textured “healthified” recipes that promise the world and deliver a sad sponge. Nope. This sugar free cake recipe brings all the buttery richness, soft crumb, and fluffy texture of a traditional cake—just without the sugar crash.
And here’s the kicker: it’s actually simple to make. We’re talking pantry staples, no weird ingredients, and a frosting that whips up like a dream. (Because if you’re going to make Sugar Free Cake, you better go all the way with frosting, right?)
If you’re looking for a quick fix that still tastes amazing, this Pineapple Dump Cake is a five-minute wonder you’ll come back to again and again.
The best part? You can serve this beauty at a birthday party, a baby shower, or just because it’s Tuesday and you made it through your emails. It’s that versatile.
So, if you’ve ever found yourself standing in the bakery aisle thinking, “I wish there was something sweet I could enjoy without the sugar overload,” this Sugar Free Cake is your answer. Let’s get baking!
Why You’ll Love This Sugar Free Cake
- No sugar crash—just happy taste buds.
- Light, fluffy, buttery texture (the kind you sneak another slice of).
- Made with Swerve Granular sweetener that actually tastes good.
- Family-friendly and freezer-friendly.
- Sweet enough to serve to guests—without giving away your sugar-free secret.
What You’ll Need
Let’s break it down like your favorite playlist—easy, balanced, and no skip tracks.
For the Sugar Free Cake:
- 3 1/4 cups (373 g) cake flour
- 3 teaspoons (12 g) baking powder
- 1 teaspoon (4 g) salt
- 1 cup (226 g) unsalted butter, softened
- 1 1/2 cups (350 g) Swerve Granular sweetener or your preferred non-alcoholic sugar substitute
- 1/3 cup (72.6 g) grapeseed oil
- 3 large whole eggs, room temp
- 3 large egg whites, room temp
- 1 tablespoon (12 g) vanilla extract
- 1 cup (240 g) buttermilk, room temp
- 1/4 cup (60 g) sour cream, room temp
For the Buttercream:
- 2 cups (452 g) unsalted butter, room temp
- 1/2 cup (115 g) egg whites
- 1 1/3 cups (280 g) Swerve Powdered Sugar or, you can use a blender or food processor to blend your preferred non-alcoholic sweetener into powdered form
- 1 tablespoon (12 g) vanilla extract
Note: This frosting amount will cover and fill your Sugar Free Cake. Want to pipe a little flair on top? Make an extra half batch.
For the Drip (Optional but Fancy):
- 1 cup (150 g) white chocolate chips (Guittard White Cookie Drops are dreamy)
- 1/4 cup (57.75 g) heavy whipping cream
When it comes to a crowd-pleasing favorite, Crack Cake has a cult following—and one bite will tell you why.
Let’s Get Baking: The Only Sugar Free Cake Recipe You’ll Ever Need
Equipment
Before we dive into the magic of mixing, whipping, and baking, let’s make sure you’ve got all the right tools. No one wants to realize they’re missing a mixing bowl mid-recipe.
Here’s what you’ll need:
- 2 large mixing bowls
- Hand or stand mixer (a whisk will work, but be ready for an arm workout)
- Measuring cups and spoons
- Rubber spatula
- 3 8-inch round cake pans (or 2 for taller layers)
- Parchment paper
- Wire cooling rack
- Small saucepan (for the drip)
- Offset spatula or butter knife (for frosting finesse)
- Cake turntable (optional but makes frosting feel like a dance)
- Blender or food processor (if you’re turning Swerve Granular into powdered sugar)
Step-by-Step: Your Sugar Free Cake Recipe in Action
Step 1: Prep Like a Pro
First things first: set your oven to 350°F (177°C). Then, line your Sugar Free Cake pans with parchment paper and give them a light spray of nonstick cooking spray or a light swipe of butter. You’ll thank yourself later when the layers pop out clean.
While your oven’s warming up, grab your butter, eggs, egg whites, buttermilk, and sour cream and let them hang out on the counter. Room temp ingredients = smooth mixing and an evenly textured Sugar Free Cake.
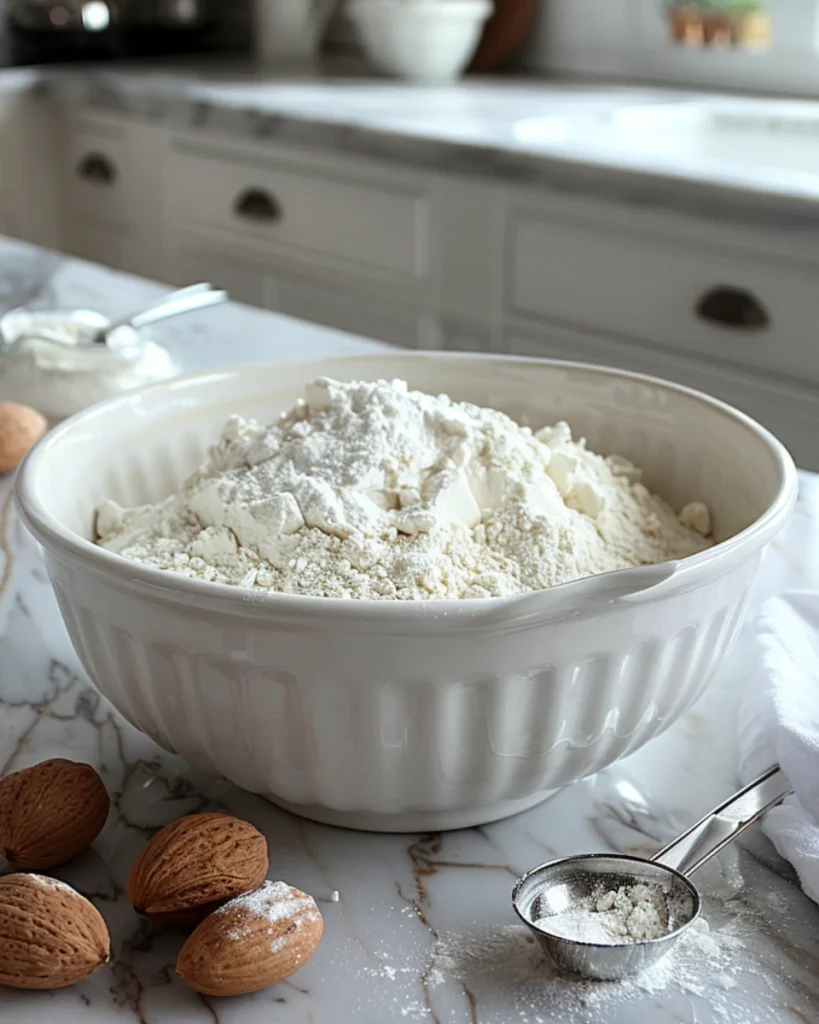
Step 2: Mix the Dry Team
Using a spacious mixing container, thoroughly blend the finely milled cake flour with the leavening agent and seasoning element to ensure an even distribution of dry components before adding any wet ingredients. This ensures your rising agents and flour are evenly distributed, which means a fluffier, lighter sugar free cake. (And who doesn’t want that?)
Step 3: Cream It Up
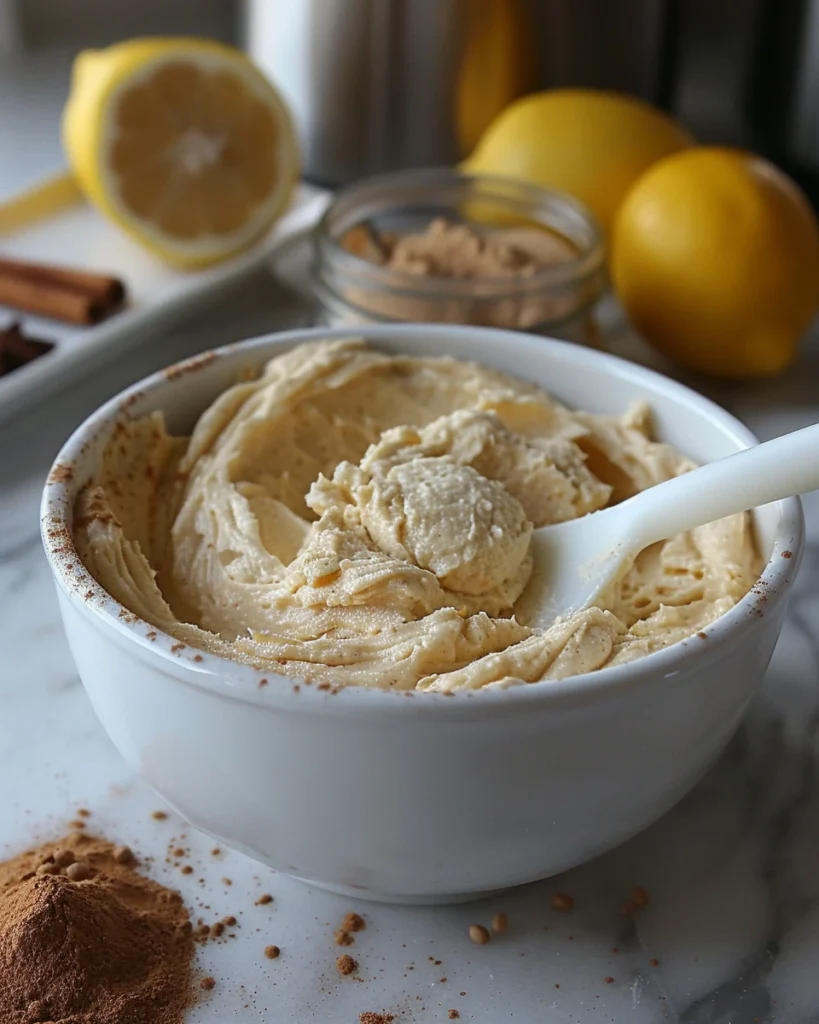
In another bowl, beat your softened butter with the Swerve Granular sweetener until it’s light and fluffy. This part usually takes 3–5 minutes with a mixer. You’re not just mixing—you’re aerating. That air is your cake’s future lift!
Add the grapeseed oil, and mix again. It helps keep the Sugar Free Cake moist and gives it a soft, rich bite.
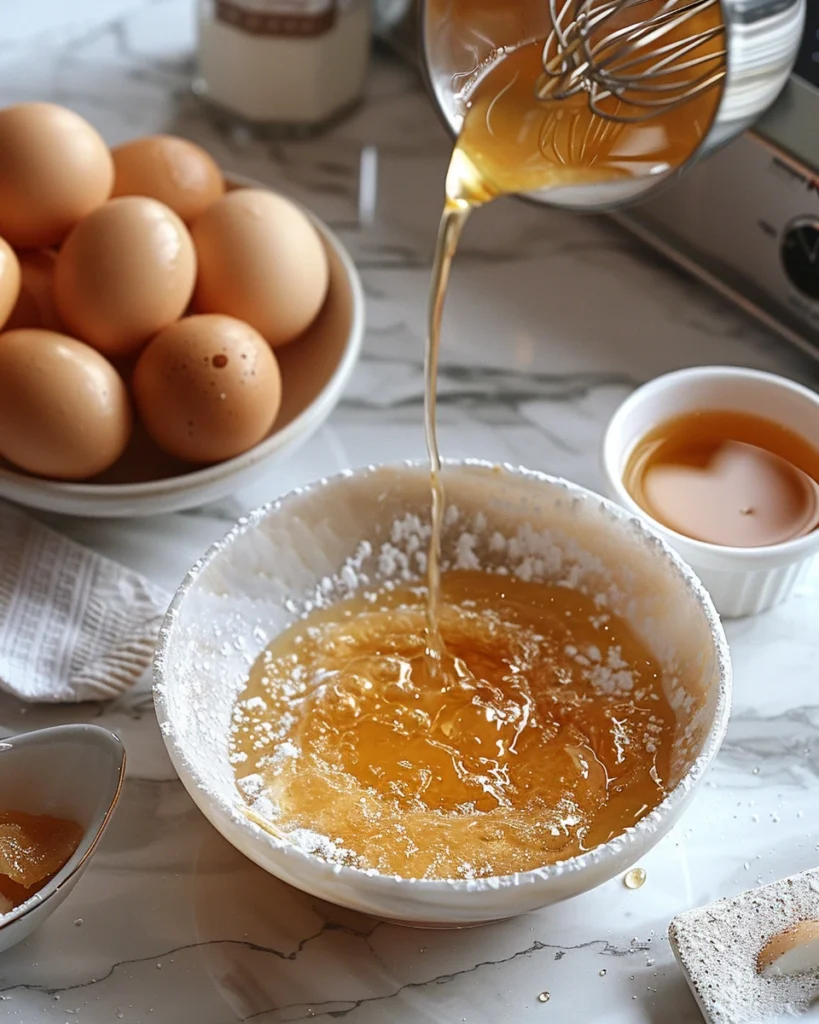
Step 4: Eggs, Meet Batter
Now, add the eggs one at a time. Mix well after each addition. Then toss in those extra egg whites. Why the extra whites? They add structure and fluff without the heaviness.
Introduce the aromatic vanilla essence into the mixture as the concluding step of the flavoring process, ensuring it is gently but thoroughly incorporated for a harmonious blend of ingredients. At this point, your batter should be smooth, thick, and smell like heaven in a bowl.
Step 5: Bring It All Together
Alternate adding the flour mixture and the buttermilk to your wet ingredients. Start and end with the dry ingredients. It should go: dry, wet, dry, wet, dry.
Finally, fold in the sour cream gently. It adds tang and tenderness, and keeps your cake from drying out (especially handy for a sugar free cake recipe).
Step 6: Pour and Tap
Divide the batter evenly among the prepared pans. Give them a gentle tap on the counter to pop any air bubbles. This also helps the batter settle into an even layer.
Step 7: Bake and Breathe
Slide those pans into your preheated oven and bake for 25–30 minutes. Start checking around the 25-minute mark. You’ll know they’re done when a toothpick poked in the center comes out clean (or with a few moist crumbs—no wet batter).
Once out of the oven, let the cakes rest in the pans for about 10 minutes, then transfer them to a wire rack to cool completely. Patience is key here. Warm cake + frosting = slippery disaster.
Step 8: Let’s Frost This Thing
While your layers are cooling, it’s buttercream time.
In a clean bowl, whip the egg whites until frothy. Slowly add in the Swerve Granular powdered sugar, and whip until soft peaks form.
Now, add the room-temp butter a little at a time. Keep whipping until your frosting looks smooth, creamy, and luscious. If it looks curdled at any point—don’t panic. Just keep mixing. It’ll come together like magic.
Finish with a splash of vanilla extract.
Step 9: Stack and Slather
After allowing the baked cake layers to reach room temperature completely, assess their surface for any unevenness, and if necessary, carefully trim the tops to create a smooth, even foundation for stacking or decorating.
Carefully place the first cake layer onto your serving board or plate. Spread a generous scoop of frosting over the top, then add the next layer. Repeat until stacked. Coat the outside with a thin layer of frosting (aka crumb coat), chill for 15–20 minutes, then go back and finish with a thick final layer.
Use your offset spatula to swirl, smooth, or get fancy.
Step 10: Optional Drip Drama
If you’re going for the gold star, let’s make a drip. Warm the heavy cream in a small saucepan until hot but not boiling. Pour it over the white chocolate chips in a heat-safe bowl. Allow it to rest for 2 minutes, then stir gently until the mixture is smooth.
Let it cool for 5 minutes, then drizzle over your frosted cake using a spoon or piping bag.
Sweet Tips for Sugar Free Cake Success
- Use the right sweetener. Swerve Granular blends aren’t all created equal. Lakanto’s version is perfect for baking—it behaves like sugar without the bitterness.
- Don’t overbake. Sugar-free cakes can dry out faster. Keep a close eye, and trust your toothpick.
- Room temperature matters. Cold eggs and butter can mess with your texture. Take the extra 30 minutes to let things warm up—it’s worth it.
- DIY powdered Swerve Granular. If you only have granules, no worries. Blend ‘em up in a food processor for 30 seconds and boom—homemade powdered sugar.
- Chill your layers. Want cleaner, more stable layers when frosting? Pop your cake layers into the fridge for 30 minutes before stacking.
- No drip? No drama. Skip the chocolate drip if you’re in a rush. The buttercream alone is enough to win hearts.
- Decorate your way. Add fresh berries, a dusting of Swerve Granular, or a few flowers on top for a bakery-worthy finish.
A Little Slice of My Life
When my youngest turned five, we threw a backyard birthday bash full of balloons, bubbles, and—you guessed it—cake. Except this time, I was determined to avoid the usual sugar rush + meltdown combo. So, I gave this sugar free cake a whirl, a bit nervous I’d be met with side-eyes and untouched plates.
To my surprise? Not only did the kids devour it, but one mom pulled me aside and whispered, “Okay… what’s in this cake?” That day, the sugar free cake officially earned its spot in our family recipe book. Now, it’s my go-to for parties, potlucks, and those “I just need cake” days. And no one misses the sugar—not even a little.
Storage Tips for Your Sugar Free Cake
Let’s be honest—leftover cake is a beautiful problem to have. But keeping your sugar free cake fresh and fluffy takes just a little know-how.
Room Temperature:
If your kitchen isn’t too warm, you can keep the frosted cake at room temperature in an airtight container for up to 2 days. Just be sure it’s covered to avoid drying out. A cake dome or even plastic wrap works in a pinch.
Refrigerator:
Want to keep it fresher a little longer? Pop your cake in the fridge. Store it in an airtight container and it’ll stay moist and delicious for up to 5 days. Before serving, let slices sit at room temp for 30 minutes so the buttercream softens and the flavor shines.
Freezer:
Yes, this sugar free cake recipe freezes like a dream. Wrap individual slices or whole layers tightly in plastic wrap, then aluminum foil. Freeze for up to 3 months. When the cake craving hits, let it thaw overnight in the fridge or a couple of hours on the counter. Bonus tip: freeze the layers before frosting if you’re prepping ahead for a party.
Nutrition Breakdown: What’s Inside Your Slice of Heaven
You’re skipping refined sugar—but what are you getting? This sugar free cake still delivers a satisfying, indulgent treat without the sugar rollercoaster. It’s rich in protein and healthy fats, especially thanks to the eggs, butter, and Swerve Granular sweetener that won’t spike your blood sugar.
While it’s still a dessert, this cake leans toward the smarter side of sweet indulgence. Here’s the nutritional lowdown for one serving (based on a standard 12-slice cake):
| Nutrient | Amount (Per Slice) |
|---|---|
| Serving Size | 1 slice (1/12 of cake) |
| Calories | 415 kcal |
| Total Fat | 34 g |
| Saturated Fat | 20 g |
| Unsaturated Fat | 11 g |
| Trans Fat | 0 g |
| Cholesterol | 115 mg |
| Sodium | 230 mg |
| Carbohydrates | 28 g |
| Dietary Fiber | 2 g |
| Total Sugars | 1 g (from dairy only) |
| Added Sugars | 0 g |
| Sugar Alcohols | 18 g |
| Protein | 6 g |
| Calcium | 90 mg (7% DV) |
| Iron | 1.3 mg (8% DV) |
| Potassium | 170 mg (4% DV) |
| Vitamin A | 950 IU (19% DV) |
| Vitamin D | 0.8 mcg (4% DV) |
Note: Nutritional values are approximate and can vary based on brands and exact ingredient measurements. Always check your specific labels if you need exact macros.
This cake proves you can have your sweet treat and feel good about it, too. Less sugar, more flavor, and no post-dessert slump? That’s a win in any kitchen.
Cooking Time & Yield Details
Whether you’re planning ahead for a celebration or baking on a whim, here’s exactly how much time you’ll need to bring this sugar free cake to life:
- Prep Time: 25 minutes
- Cook Time: 30 minutes
- Chilling Time (for frosting + crumb coat): 20 minutes
- Cooling Time (before frosting): 45 minutes
- Drip Setting Time (optional): 10 minutes
- Total Time: Approximately 2 hours 10 minutes
(or closer to 1 hour 25 minutes if you skip the drip and go minimalist)
Yield
- Yield: One 3-layer 8-inch round cake
- Servings: About 12 generous slices
- Storage Yield (for leftovers): Up to 3 months frozen, 5 days refrigerated
Cuisine
- Cuisine: American
A clever spin on tradition—rich flavor, light finish, and no sugar slump.
So whether you’re baking for a birthday, a potluck, or just to treat yourself after a long week, this sugar free cake proves you don’t need loads of sugar to create something truly satisfying.
It’s the kind of dessert that turns skeptics into believers—moist, rich, and every bit as celebratory as its sugary counterparts. Plus, it feels good knowing you can indulge without the sugar crash sneaking up on you later. Try it once, and it just might become your new not-so-guilty pleasure.
Can I substitute the Swerve Granular sweetener in this sugar free cake recipe?
Yes! While the recipe is designed around Swerve Granular sweetener for best flavor and texture, you can swap in another granulated sugar substitute like erythritol or Swerve. Just keep in mind that sweetness levels and textures may vary slightly, so you might need to adjust to taste.
Is this sugar free cake recipe suitable for diabetics?
It can be! Since it uses Swerve Granular sweetener and contains no added sugars, it’s often a great option for people watching their blood sugar. That said, always check with your doctor or dietitian to make sure it fits your needs.
Can I make this sugar free cake ahead of time?
Absolutely. Bake the cake layers a day ahead, wrap them tightly in plastic wrap, and store them at room temp or in the fridge. You can also make the buttercream and refrigerate it for up to 3 days—just give it a quick whip before frosting.
Can I freeze this cake?
Yes, this sugar free cake freezes beautifully. Wrap slices or full layers tightly in plastic and foil, then freeze for up to 3 months. Let it thaw in the refrigerator or at room temperature before serving.
What can I use instead of grapeseed oil?
If grapeseed oil isn’t on hand, you can easily substitute it with light olive oil or avocado oil in this sugar-free cake recipe. Avoid strong-flavored oils like coconut or extra virgin olive oil, which can overpower the vanilla notes.
How do I store leftovers?
Leftovers can be kept at room temperature (covered) for up to 2 days, or in the fridge for 5 days. You can also freeze individual slices for later—just thaw and enjoy when the craving hits.
