Ever had one of those days where everything feels like a whirlwind—emails flying, kids asking what’s for dinner before you’ve even had lunch, and your to-do list glaring at you like a disappointed coach? We feel you. And that’s exactly why we’re here to talk about the condensed milk cake—your new go-to dessert that’s sweet, simple, and shockingly low-maintenance.
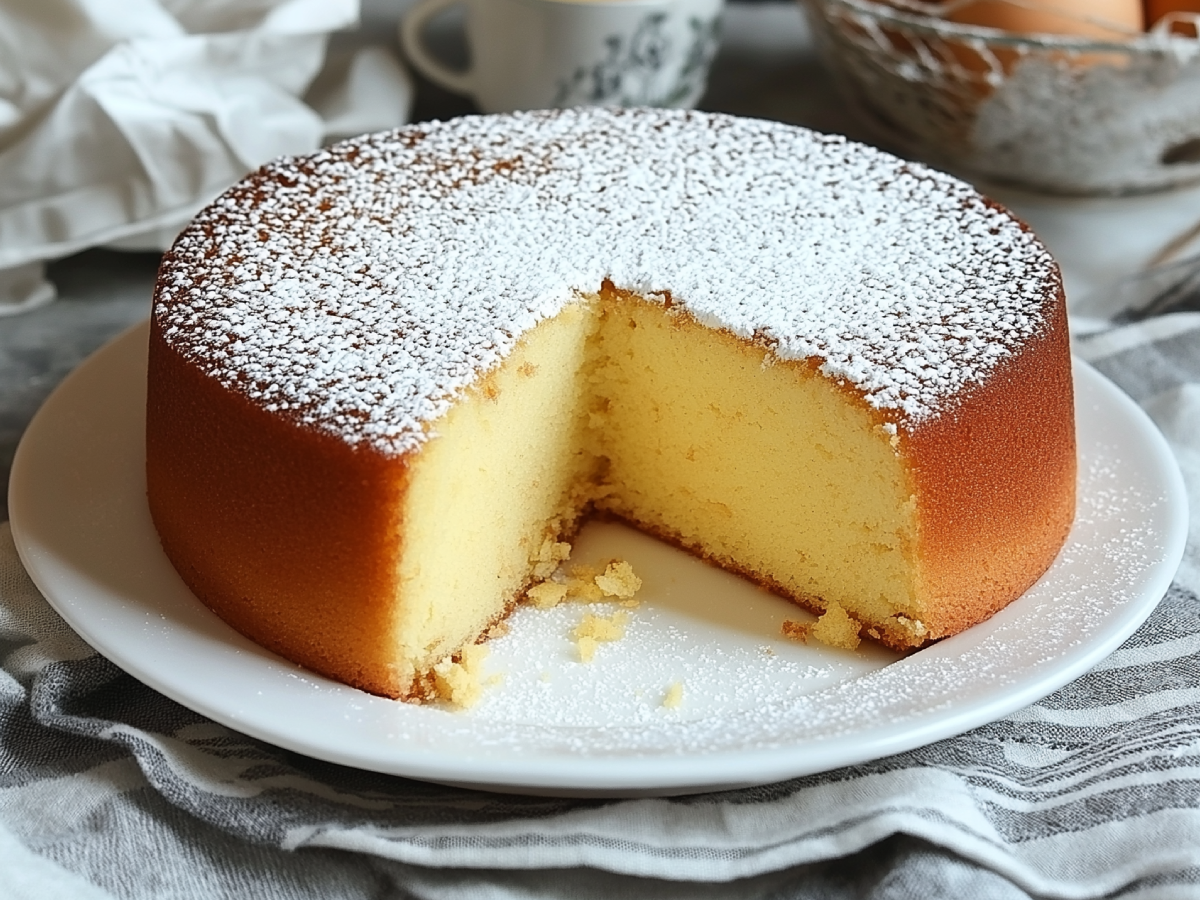
This isn’t just any cake. It’s the kind of treat that wraps you in a sugar-coated hug after a long day. Made with a can of good ol’ sweetened condensed milk, this beauty is rich, buttery, and soft with just the right touch of sweetness. No frosting drama, no fancy mixers, no fuss. You toss the ingredients together, bake it, and voilà—you’ve got yourself a golden, dreamy Condensed Milk Cake that smells like nostalgia and tastes like home.
And here’s the best part—it looks like you tried way harder than you actually did. If you love easy, foolproof desserts like this, you should check out the Pineapple Dump Cake, a 5-minute dessert that’s as irresistible as it is quick. Whether you’re baking for picky kiddos, your book club crew, or a solo moment of indulgence with a cozy blanket and a rerun of your favorite sitcom, this Condensed Milk Cake delivers. Every time, Looking for another easy, delicious cake that’s perfect for any occasion? Try the Mandarin Orange Cake Recipe, a moist and simple treat that’s just as crowd-pleasing..
The condensed milk cake is perfect for those who want something quick but delicious, or for anyone who just wants to make dessert without turning their kitchen into a flour-covered crime scene. It’s an ideal recipe for busy moms, multitasking pros, and anyone who believes dessert should be effortless and joyful, If you’re looking for another dessert that’s as addictive as it is easy, give Crack Cake a try—it’s bound to be a hit in your kitchen.
Let’s be honest—we all deserve a little cake moment. And this one? It’s got your name on it.
Contents
- 1 Why You’ll Love This Condensed Milk Cake
- 2 Ingredients You’ll Need
- 3 Equipment
- 4 Recipe Step-By-Step For Condensed Milk Cake
- 4.1 Step 1: Preheat That Oven
- 4.2 Step 2: The Egg Show
- 4.3 Step 3: Add the Sweet Star
- 4.4 Step 4: Melt the Butter, But Don’t Boil It
- 4.5 Step 5: The Flour Power Combo
- 4.6 Step 6: Pour and Smooth
- 4.7 Step 7: Bake Until Golden and Gorgeous
- 4.8 Step 8: Cool with Patience (We Know, It’s Hard)
- 4.9 Step 9: Dust Like a Pro
- 5 Cooking Tips
- 6 Personal Anecdotes
- 7 Storage Tips: How to Keep Your Condensed Milk Cake Fresh and Fabulous
- 8 Nutrition: What’s Inside This Sweet Slice
- 9 Cooking Time & Recipe Details
- 10 Yield
- 11 Cuisine
- 12 Frequently Asked Questions
Why You’ll Love This Condensed Milk Cake
- It uses pantry staples you probably already have (no emergency store runs needed).
- It’s sweet, soft, and satisfying without being overly rich.
- No mixer? No problem. Just a bowl and a spoon will do the trick.
- It’s quick. Like, you’ll-be-slicing-it-before-your-favorite-show-ends quick.
- It’s picky-eater approved (yes, even the toddler who refuses anything not shaped like a dinosaur).
Ingredients You’ll Need
Here’s what you’ll need to whip up this beauty of a Condensed Milk Cake:
- 1 (14 oz) can sweetened condensed milk – the star of the show and your built-in sweetener.
- 4 eggs – for that rich, fluffy texture.
- 4 tablespoons unsalted butter, melted – brings in buttery goodness without overpowering.
- 1 cup all-purpose flour – your cake’s base.
- 3 tablespoons all-purpose flour – just a little extra to give it structure.
- ½ teaspoon baking powder – helps it rise and get that lovely soft crumb.
- 2 tablespoons confectioners’ sugar – for dusting on top like a little dessert snow.
Equipment
Before we jump into the mixing bowl, let’s make sure you’ve got everything you need on hand. Good news—this recipe is refreshingly low-tech. Here’s your short and sweet checklist:
- 1 medium mixing bowl
- 1 whisk or spoon (no electric mixer necessary!)
- Measuring cups and spoons
- 1 silicone spatula or spoon for scraping
- 1 standard loaf pan (9×5 inches works best)
- Oven mitts (because we like our fingertips unburnt)
- Cooling rack (optional, but helpful)
- Sifter or fine-mesh strainer (for that confectioners’ sugar snowfall at the end)
That’s it. No food processors. No stand mixers. Just the basics. We love a Condensed Milk Cake that doesn’t demand its own gadget drawer.
Recipe Step-By-Step For Condensed Milk Cake
Let’s bake something that feels like a win.
Step 1: Preheat That Oven
Start by preheating your oven to 350°F (175°C). It’s best to get this going first so it’s nice and ready when your batter is. A warm oven means a better rise and a golden, evenly baked cake.
While it heats up, lightly grease your loaf pan with butter or nonstick spray. You can also line it with parchment paper for easier cleanup (and fewer sticky situations).
Step 2: The Egg Show
Crack your 4 eggs into a mixing bowl. Whisk them up just until the yolks and whites are one happy yellow blend. No need to get fancy—just a light beating to combine.
Eggs are doing double duty here: helping with structure and moisture. Think of them as the behind-the-scenes magic of the condensed milk cake.
Step 3: Add the Sweet Star
Now, pour in that luscious 14-ounce can of sweetened condensed milk. Take a second to admire it as it slides into the bowl—it’s thick, shiny, and smells like sugar dreams.
Mix it with the eggs until it’s smooth. The batter should be a pale yellow and fairly runny at this point.
Step 4: Melt the Butter, But Don’t Boil It
Melt 4 tablespoons of unsalted butter in the microwave or on the stovetop. Let it cool slightly—you want it warm, not sizzling hot. (We’re baking a Condensed Milk Cake, not scrambling the eggs!)
Once it’s cooled a bit, stir it into the mixture. The butter adds richness and helps create that soft, velvety bite.
Step 5: The Flour Power Combo
Here comes the structure! Combine 1 cup and 3 tablespoons of all-purpose flour with ½ teaspoon of baking powder in a separate bowl. Give it a quick stir so the baking powder is evenly distributed. You can sift the flour if you want a super fine texture, but honestly, this cake is forgiving—so don’t stress it.
Gradually add dry into the wet mixture. Stir gently as you go to avoid overmixing. We want the batter just combined, not overworked. Overmixing is where dense cakes come from, and we’re aiming for soft, not brick-like.
Step 6: Pour and Smooth
Once everything’s well mixed (and looking creamy and dreamy), pour the batter into your prepared loaf pan. Use a spatula to scrape every last drop—because none of that condensed milk cake goodness should go to waste.
Tap the pan lightly on the counter a couple times to release any sneaky air bubbles.
Step 7: Bake Until Golden and Gorgeous
Pop your cake into the preheated oven. Bake for 40–50 minutes, depending on your oven. At around the 40-minute mark, start checking. You’re looking for a golden top and a toothpick that comes out clean or with just a few moist crumbs.
Your kitchen will start to smell like buttery vanilla happiness—that’s your cue that something wonderful is happening.
Step 8: Cool with Patience (We Know, It’s Hard)
Take the Condensed Milk Cake out and let it rest in the pan for 10–15 minutes. This gives it time to firm up and makes removal way easier. Then turn it out onto a cooling rack. Or just a plate. We’re not judging.
Let it cool completely if you want clean slices—or dive in warm if you’re more of a cozy-crumbs-and-messy-fingers type. Either way, you win.
Step 9: Dust Like a Pro
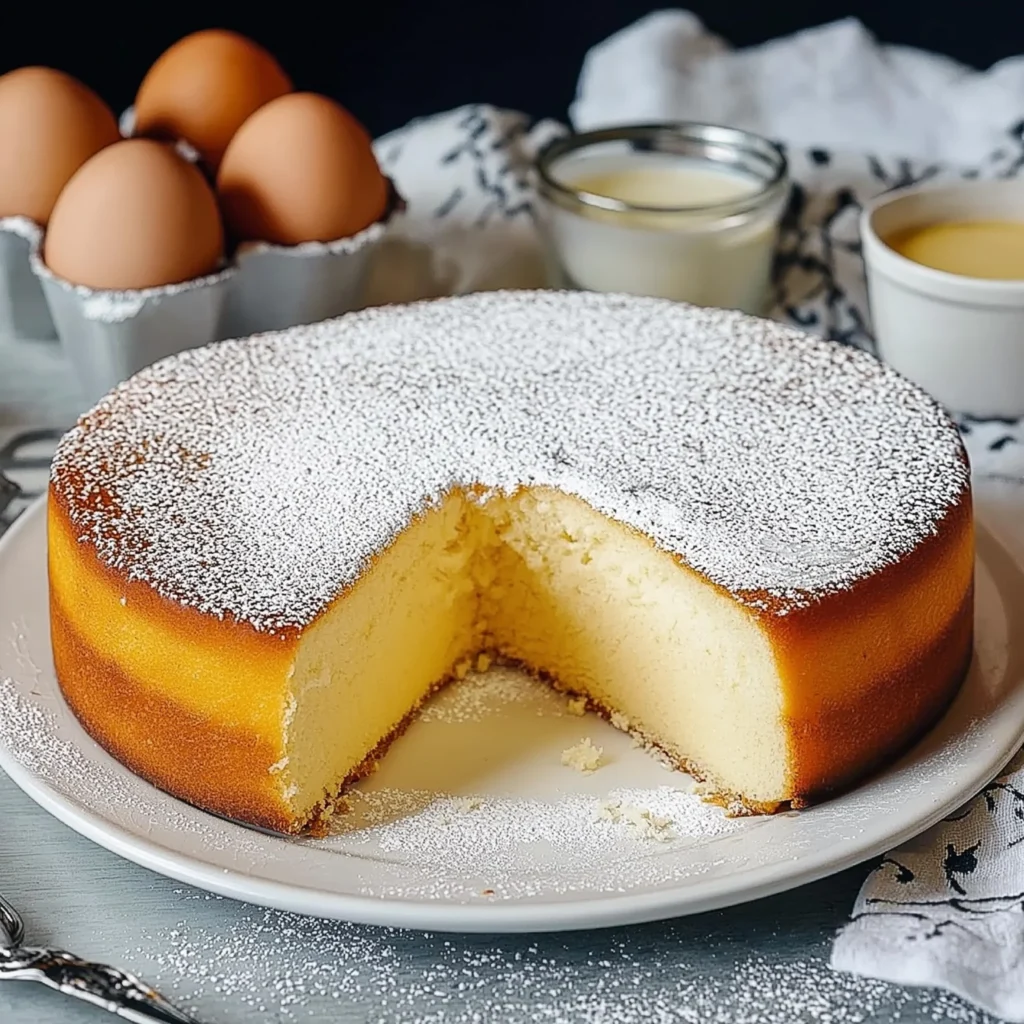
Before serving, grab your confectioners’ sugar and sprinkle a light dusting over the top. It’s not just pretty—it adds a soft sweetness that makes each bite feel like a treat from a bakery window.
Cooking Tips
Let’s talk shop—here are some helpful nuggets to keep your condensed milk cake baking smooth and stress-free.
If you need to improve your skills, check out these baking techniques.
Don’t Skip the Cooling Time
We get it. The smell is intoxicating. But if you try to slice the Condensed Milk Cake while it’s still piping hot, it might crumble or stick. Letting it cool helps it firm up and settle into that perfect, sliceable shape.
Yes, That’s a Lot of Eggs
Four eggs may seem like a lot for a loaf cake, but trust the process. They’re what give this cake its custardy richness. The result is more moist than a traditional pound cake but not quite as soft as a sponge—basically, dessert heaven.
Picky Eater: Add Chocolate Chips or Cinnamon
If you’ve got a little one who insists everything needs sprinkles or chocolate, feel free to fold in a handful of chocolate chips or swirl in some cinnamon sugar before baking. This recipe plays well with fun extras.
No Mixer? No Problem.
This condensed milk cake doesn’t need a mixer, and honestly, it’s better without one. A whisk or even a sturdy spoon gets the job done without overmixing, which helps your cake stay soft and tender.
Make it Fancy with Simple Toppings
Want to dress it up for a party? A dollop of whipped cream or a scoop of vanilla ice cream can take this from everyday treat to celebration-ready. Even a sprinkle of berries or sliced bananas makes it brunch-worthy.
Keep It Moist
Store the Condensed Milk Cake in an airtight container at room temp for up to three days. After that, pop it in the fridge. You can even warm slices in the microwave for about 10 seconds for that fresh-baked magic.
Double the Recipe? Here’s How
Want two loaves? Double all the ingredients but bake in separate pans for even cooking. Keep an eye on them, as larger batches may need a few extra minutes in the oven.
Personal Anecdotes
The first time I made a condensed milk cake, it wasn’t because I planned some Pinterest-worthy dessert night. It was because I had exactly three things left in my pantry: flour, butter, and a dusty can of condensed milk that I forgot I bought… during the last holiday season.
It was a random Tuesday, the kind where everything’s chaotic and you just need something—anything—that feels like a win. My kids were whining about snack time, the laundry was mutinying in the corner, and honestly, I just wanted five minutes of peace (with a slice of something sweet in my hand).
I tossed the ingredients together, slid the pan into the oven, and went back to juggling life. When that warm, buttery smell started filling the house? Everyone showed up in the kitchen like I’d just summoned cake from thin air. My youngest took one bite and declared it “pillow Condensed Milk Cake.” The name stuck.
Now, it’s the Condensed Milk Cake I make when we have company and not a lot of time. It’s my go-to when I want something easy, foolproof, and delicious. It’s not fancy. But it’s comforting, consistent, and always—always—a hit.
That’s the beauty of this recipe. It’s not about showing off. It’s about showing up—with something warm, sweet, and made with love (and let’s be real, maybe also because you need to finally use that can of condensed milk).
Storage Tips: How to Keep Your Condensed Milk Cake Fresh and Fabulous
So you’ve baked this dreamy, golden condensed milk cake—and somehow managed not to eat it all in one sitting (high five!). Here’s how to store it so every slice tastes just as good as the first:
Room Temperature (Short-Term Storage):
If your home isn’t too warm or humid, you can keep the Condensed Milk Cake at room temperature for up to 3 days. Just wrap it tightly in plastic wrap or store it in an airtight container. This keeps it soft and prevents it from drying out or absorbing any weird kitchen smells (looking at you, leftover onions).
Refrigerator (Mid-Term Storage):
Want to keep it fresh a little longer? Pop it in the fridge. Wrap it well, and it’ll last up to 5–6 days. The texture might firm up a bit, so let slices sit out for 15–20 minutes before eating—or microwave for 10 seconds to bring back that soft, just-baked magic.
Freezer (Long-Term Storage):
Yes, you can freeze this Condensed Milk Cake! Slice it first (trust us), then wrap each piece in plastic wrap and place them in a freezer-safe bag or container. It will stay perfect for up to 2 months. When the craving hits, just thaw a slice at room temp for about an hour, or microwave it gently for 20–30 seconds.
Pro Tip: Dust the confectioners’ sugar after defrosting or reheating—otherwise, it can melt or clump.
Nutrition: What’s Inside This Sweet Slice
Let’s talk nutrition—not to guilt you, but because it’s nice to know what’s in your food (especially when it tastes this good).
A condensed milk cake is definitely a treat, but it also brings some surprising nutritional perks. The eggs add protein, the milk base gives a little calcium boost, and it’s lower in added sugar than most frosted cakes since the sweetness comes from condensed milk.
Keep in mind that the values below are estimates for 1 slice (based on 10 servings per loaf). Add-ins like chocolate chips or toppings will, of course, change the numbers a bit.
Nutrition Facts (Per Serving)
| Nutrient | Amount per Serving |
|---|---|
| Serving Size | 1 slice (approx. 80g) |
| Calories | 265 kcal |
| Total Fat | 11 g |
| Saturated Fat | 6 g |
| Unsaturated Fat | 4.5 g |
| Trans Fat | 0 g |
| Cholesterol | 95 mg |
| Sodium | 115 mg |
| Total Carbohydrates | 35 g |
| Dietary Fiber | 0.5 g |
| Sugars | 23 g |
| Protein | 6 g |
| Calcium | 120 mg (9% DV) |
| Iron | 1.2 mg (7% DV) |
| Potassium | 170 mg (4% DV) |
| Vitamin A | 150 IU (3% DV) |
| Vitamin D | 10 IU (2% DV) |
| Vitamin B12 | 0.5 µg (20% DV) |
| Phosphorus | 100 mg (8% DV) |
Note: Daily values (DV) are on a 2,000-calorie diet. Your values may be higher or lower depending on your individual needs.
Cooking Time & Recipe Details
Time is precious—especially when you’re juggling work, kids, laundry, and trying to remember if you already fed the dog (twice). That’s why this condensed milk cake is such a gem. It’s simple, quick, and doesn’t ask much from your schedule.
Here’s the full breakdown of the time commitment so you can plan your bake with ease:
| Prep Time | 10 minutes |
|---|---|
| Cook Time | 40–50 minutes |
| Chilling Time | None required |
| Cooling Time | 15–20 minutes (recommended) |
| Total Time | About 1 hour 15 minutes |
Bonus Time Tip:
If you’re planning to serve this Condensed Milk Cake for guests or a special event, it can be made the day before. In fact, letting it sit overnight (well-wrapped) helps the flavors deepen and the texture settle beautifully.
Yield
This recipe yields:
- 1 standard loaf (9×5 inches)
- Approximately 10 generous slices
Of course, you can always cut thinner slices to stretch it out (especially if you’re feeding a crowd or practicing portion control… or pretending you’re not about to eat a second piece).
Want to double it? Just double the ingredients and use two loaf pans for best results. One for now, one for freezing—future you will thank you.
Cuisine
This Condensed Milk Cake has simple pantry roots, but its rich sweetness and smooth, custard-like texture trace back to Brazilian and Latin American cuisine, where sweetened condensed milk is a staple in many traditional desserts. Over time, it’s become a beloved comfort food across cultures, especially in American kitchens that appreciate quick, fuss-free recipes that taste like they took hours.
So while its origin has global flair, this condensed milk cake has found its forever home right on your countertop—warm, golden, and ready to make any day just a little sweeter.
There’s something deeply comforting about a dessert that asks for so little and gives so much in return. This condensed milk cake is that kind of magic. Whether you’re whipping it up between Zoom calls or baking it on a quiet Sunday afternoon while the kids play in the background, it never disappoints. The ingredients are humble, the steps are easy, and the result? A golden, tender slice of joy that feels like home on a plate.
You don’t need to be a pastry chef or clear your schedule to bring this sweet little wonder to life. Just a bowl, a whisk, and a moment of calm. And maybe a cup of tea or coffee to go along with it—because this cake pairs beautifully with those cozy moments we all crave (and rarely get enough of).
From casual get-togethers to just-because cravings, this condensed milk cake is the kind of recipe you’ll want to keep within arm’s reach. It’s sweet but not too sweet, rich without being fussy, and practically begs to be shared—though we won’t judge if you keep it all to yourself.
Go ahead, bookmark it, bake it, and bring a little slice of happiness into your kitchen. You’ve earned it.
Frequently Asked Questions
1. Can I substitute the sweetened condensed milk in this condensed milk cake?
Not really. Sweetened condensed milk is the star of the show here—it gives the cake its signature texture and sweetness. Using evaporated milk or regular milk won’t yield the same rich, moist result. If you’re looking for a dairy-free option, try a sweetened condensed coconut milk, but just know it may slightly alter the flavor.
2. Can I make this condensed milk cake gluten-free?
Yes! Simply swap the all-purpose flour with your favorite 1:1 gluten-free baking blend. The texture might be a little softer, but it’s still delicious. Just be sure your blend includes xanthan gum or add a pinch if it doesn’t.
3. How do I store leftovers?
You can store leftover condensed milk cake at room temperature (tightly wrapped) for up to 3 days, or in the fridge for 5–6 days. For longer storage, freeze individual slices for up to 2 months—perfect for when that sweet craving strikes!
4. Can I add other ingredients to this Condensed Milk Cake?
Absolutely! While this condensed milk cake shines on its own, feel free to mix in chocolate chips, citrus zest, or even a swirl of jam before baking. Just don’t overload it—simple is part of its charm.
5. Can I bake it in a different pan?
Totally. A standard 9×5 loaf pan works best, but you can also use a muffin tin (adjust baking time to about 20–25 minutes) or a square 8×8 pan for a shorter, denser cake.
