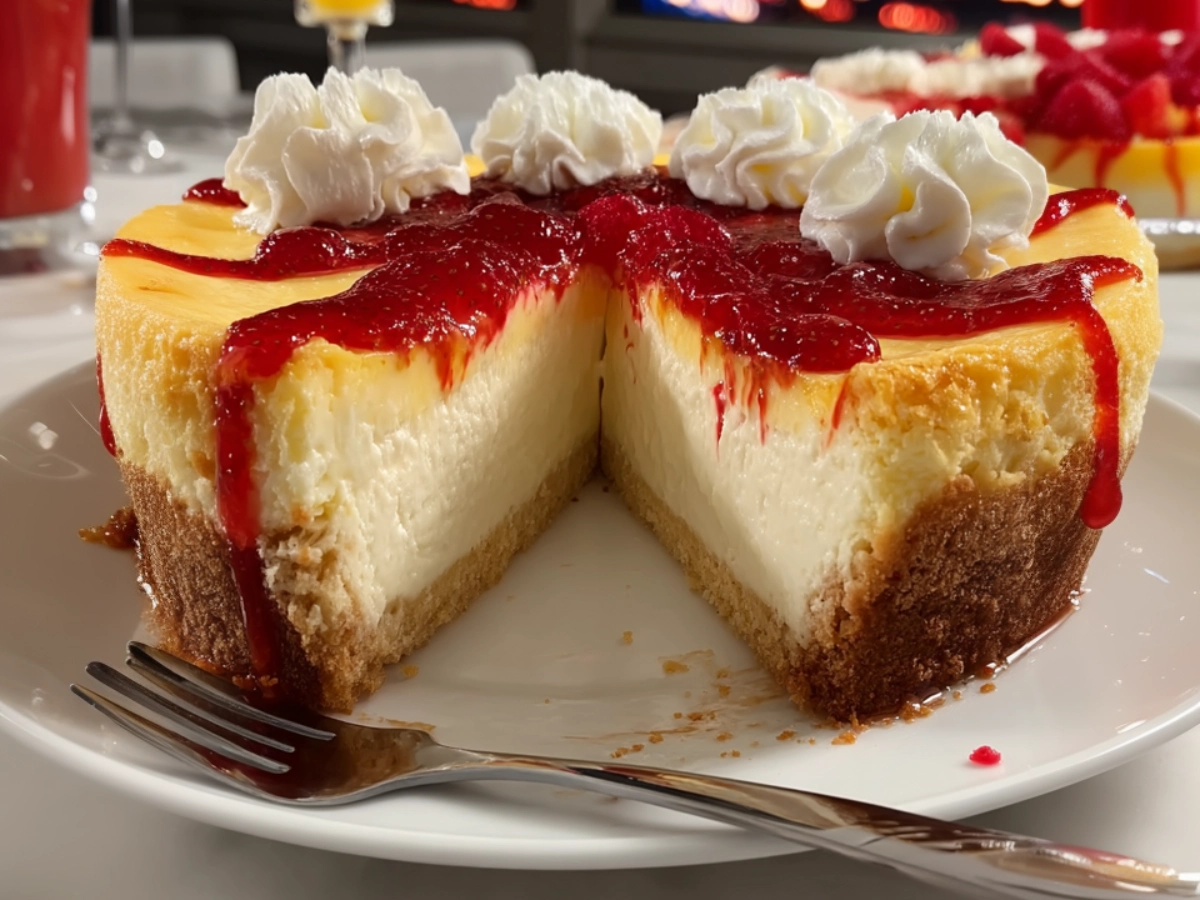
Let’s be honest—life is a juggling act. Between work deadlines, school runs, and the never-ending laundry pile, dessert often gets the short end of the spatula. But what if I told you that making a show-stopping dessert doesn’t have to be complicated or time-consuming? Enter: Junior’s Cheesecake — a creamy, dreamy classic that’s surprisingly doable even on a Wednesday night.
This isn’t just any cheesecake. Junior’s has earned its place in dessert royalty, and now you can bring that magic into your own kitchen without needing a culinary degree or a spare weekend. It’s the kind of recipe that impresses the in-laws, bribes the kids into doing chores, and pairs perfectly with your favorite pair of fuzzy socks and a rom-com.
I’ve simplified and restructured the original recipe just enough to fit into your real-life rhythm—whether you’re hosting a dinner party or just trying to steal a sweet bite after the chaos of the day winds down. With a light sponge cake crust (no graham crackers in sight!) and a cheesecake filling so smooth it should come with a warning, this version of Junior’s Cheesecake is ready to become your go-to treat.
So roll up those sleeves, preheat that oven, and get ready to fall in love—with a dessert, not a dishes pile, For a fast and tasty treat, try our Condensed Milk Cake Recipe, ready in just five minutes.
Contents
- 1 Why You’ll Love This Junior’s Cheesecake
- 2 Junior’s Cheesecake Recipe: Ingredients Breakdown
- 3 What You’ll Need (Equipment)
- 4 Step-by-Step: Making the Famous Junior’s Cheesecake
- 5 Cooking Tips for Your Junior’s Cheesecake
- 6 A Little Backstory From My Kitchen to Yours
- 7 Storage Tips: Keep Your Junior’s Cheesecake Fresh & Fabulous
- 8 Nutrition: What’s In a Slice of Junior’s Cheesecake?
- 9 Cooking Time & Yield: What to Expect in Your Kitchen Timeline
- 10 Yield
- 11 Cuisine
- 12 Frequently Asked Questions About Junior’s Cheesecake
Why You’ll Love This Junior’s Cheesecake
This isn’t just dessert—it’s therapy by the forkful. From the airy sponge base to that velvety cream cheese crown, this recipe checks all the boxes: easy to follow, big on flavor, and foolproof for even first-time cheesecake bakers.
Junior’s Cheesecake Recipe: Ingredients Breakdown
For the Sponge Cake Crust:
- 1 tablespoon unsalted butter (for greasing the pan)
- 1/3 cup cake flour (sifted)
- 3/4 teaspoon baking powder
- A pinch of table salt
- 2 extra-large eggs, separated
- 1/3 cup granulated sugar (divided)
- 1 teaspoon vanilla extract
- 1/4 teaspoon lemon extract
- 2 tablespoons unsalted butter, melted
- 1/4 teaspoon cream of tartar
For the Junior’s Cheesecake Filling:
- 4 packages (8 ounces each) full-fat Philadelphia cream cheese (room temperature)
- 1 2/3 cups granulated sugar (divided)
- 1/4 cup cornstarch
- 1 tablespoon vanilla extract
- 2 extra-large eggs
- 3/4 cup heavy whipping cream
What You’ll Need (Equipment)
Before diving headfirst into Junior’s Cheesecake bliss, let’s make sure your kitchen is armed and ready:
- 9-inch springform pan
- Electric mixer or stand mixer
- Mixing bowls (a few sizes help)
- Sifter or fine mesh strainer
- Whisk
- Rubber spatula
- Measuring cups and spoons
- Baking sheet (for optional water bath)
- Parchment paper
- Cooling rack
- Toothpick or cake tester
Step-by-Step: Making the Famous Junior’s Cheesecake
Let’s turn your kitchen into a little slice of Brooklyn, shall we?
Step 1: Preheat and Prep That Pan
Start by preheating your oven to 350°F (175°C). This gives your sponge cake crust the warm welcome it deserves.
Butter the bottom and sides of a 9-inch springform pan. Then, line just the bottom with a round piece of parchment paper. It’s like a non-stick insurance policy.
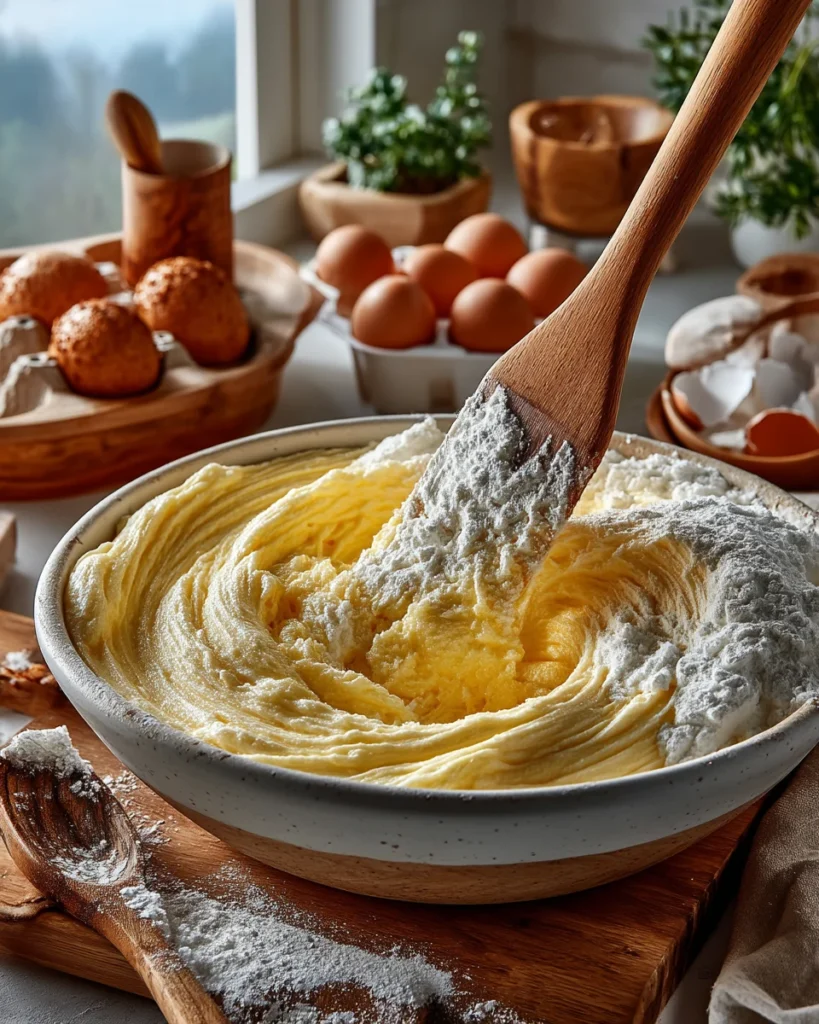
Step 2: Make the Sponge Cake Crust
Sift and Stir:
Grab your sifter and combine the cake flour, baking powder, and salt into a small bowl. Set it aside—you’ll be calling it back in just a sec.
Egg-cellent Beginnings:
Separate your eggs. Pop the yolks into one mixing bowl, and the whites into another.
Sweeten Up:
To the yolks, add half of the granulated sugar. Beat with a hand mixer on high until the mixture gets pale and thick—like a yellow ribbon. This takes about 3–4 minutes. Then stir in the vanilla and lemon extracts for that citrus-kissed, bakery-fresh flavor.
Butter It Up:
Mix in the melted butter, but go gently. You want all that air you whipped in to stick around.
Flour Power:
Fold in the flour mixture. Be patient. Go slow. Think of it as gently tucking your ingredients in for a nap.
Fluff Time:
Over in the second bowl, whip the egg whites with cream of tartar until soft peaks form. Gradually add the remaining sugar, beating until the peaks are glossy and firm—but not dry.
Combine and Conquer:
Fold the whites into the yolk batter in three parts. Be gentle but thorough. This is what gives your sponge cake its signature bounce.
Bake It Up:
Pour the batter into your pan and spread it evenly. Bake for about 10 minutes or until the top springs back when lightly touched. A toothpick should come out clean—no gooey surprises.
Let it cool while you whip up the star of the show: that velvety cheesecake filling.
Step 3: Let’s Talk Cheesecake Batter
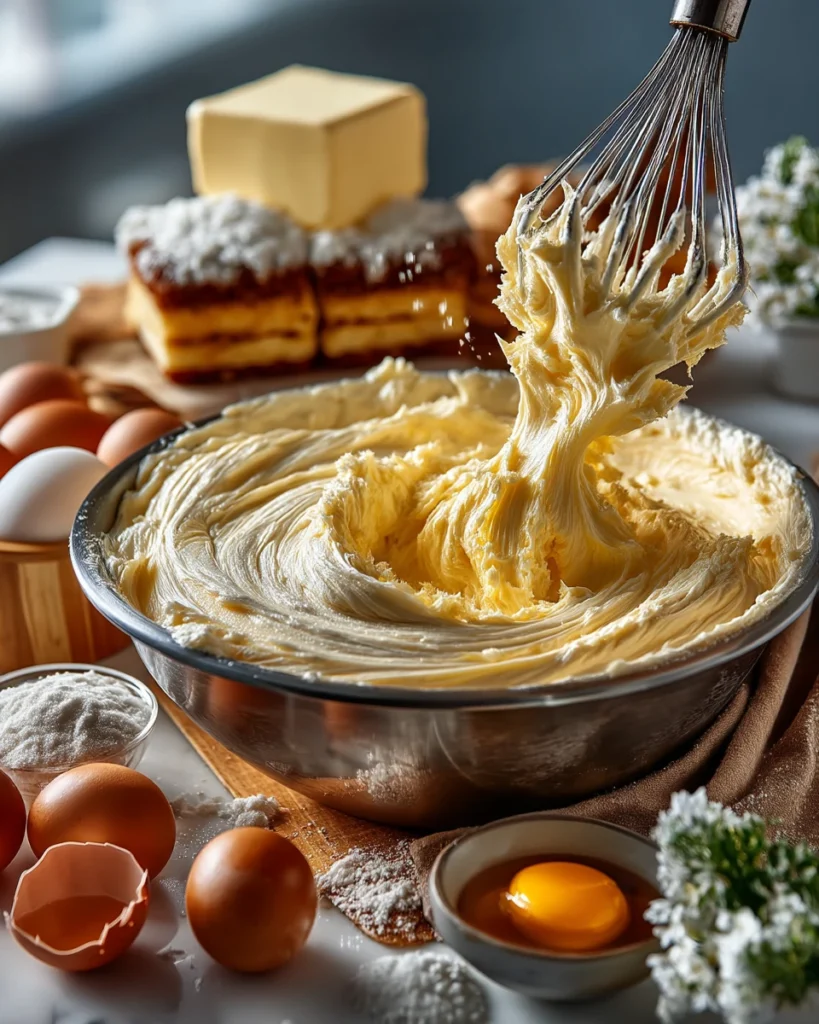
Smooth Operator:
Beat 2 packages of the cream cheese with 1/3 cup of sugar and all the cornstarch until smooth and creamy—about 3 minutes on medium-high.
Cream Cheese Tag Team:
Add the remaining cream cheese one block at a time. Keep mixing and scraping down the sides. Don’t rush; this is where the magic starts.
Flavor Boost:
Add in the vanilla extract. Then beat in the eggs one at a time, letting each fully incorporate before adding the next.
Final Whip:
Pour in the heavy cream and give it a final mix until everything’s smooth and dreamy. This is where it all comes together.
Step 4: Bake
Layer It Up:
Pour the Junior’s Cheesecake batter right over your cooled sponge cake crust. Tap the pan gently to pop any air bubbles—because no one likes a cheesecake that moonlights as a crater.
Water Bath Optional (but Recommended):
Place your springform pan on a baking sheet. Fill the sheet with hot water about halfway up the sides of the pan. This cozy bath helps keep your Junior’s Cheesecake from cracking like a dry joke.
Bake Time:
Slide it into the oven and bake at 350°F for 1 hour to 1 hour 10 minutes. You’re looking for a center that jiggles slightly when you nudge the pan.
Step 5: The Hardest Part—Waiting
Cool It:
Once baked, turn off the oven and crack the door. Let the cheesecake cool inside for about an hour. This gradual cool-down helps it stay smooth on top.
Chill Out:
Transfer the pan to a wire rack. Once it’s room temp, cover it (still in the pan) and chill in the fridge for at least 4 hours—overnight is even better. Trust me, it’s worth the wait.
Unveil the Magic:
Run a thin knife around the edge of the cheesecake before releasing it from the pan. Lift it carefully, and voilà—you’re holding cheesecake royalty.
Cooking Tips for Your Junior’s Cheesecake
- Don’t skip the room temp rule! Cold cream cheese turns lumpy fast. Let it sit out ahead of time and save yourself the frustration.
- Go slow with the eggs. Add them one at a time and don’t overmix—this keeps your cheesecake from puffing up and cracking like a sidewalk in summer.
- Water bath woes? If you’re not a fan of dealing with water baths, place a pan of hot water on the rack below your cheesecake instead. Still helps with moisture!
- Sponge cake looking a little low? It’s supposed to be thin! That’s the beauty of Junior’s Cheesecake—it’s all about balance.
A Little Backstory From My Kitchen to Yours
The first time I tried making Junior’s Cheesecake at home, it was for a PTA potluck. I was nervous—it had a sponge cake crust, after all. Not exactly your everyday dessert. But the look on everyone’s faces? Worth every stir, fold, and oven peek. Now it’s my family’s most requested birthday treat. Even my picky 7-year-old declared it “cheesecake from a cartoon.” High praise, right?
Storage Tips: Keep Your Junior’s Cheesecake Fresh & Fabulous
So you’ve baked the masterpiece and managed not to devour it all in one sitting—first of all, kudos. Now let’s talk about storing it so you can enjoy a slice of creamy joy any day of the week.
Refrigerator:
Your Junior’s Cheesecake will stay fresh in the fridge for up to 5 days. Just make sure it’s well-covered. You can either use plastic wrap (press it gently over the top without smudging that perfect surface) or store it in an airtight container. A cake dome works great if you’re feeling a little fancy.
Freezer:
Yes, cheesecake freezes beautifully! Wrap individual slices or the whole cake (after it’s chilled and firm) in plastic wrap, then foil. Store in a freezer-safe container or bag for up to 2 months. When you’re ready to indulge, thaw it overnight in the fridge. Don’t rush it—microwaving isn’t cheesecake’s best friend.
Serving Tip:
For the best texture and flavor, take your Junior’s Cheesecake out of the fridge about 30 minutes before serving. It takes the chill off and brings back that rich, luscious feel.
Nutrition: What’s In a Slice of Junior’s Cheesecake?
Let’s be real—this isn’t diet food. But it’s the kind of indulgence that’s totally worth it. Think of it as a once-in-a-while treat that delivers serious satisfaction with every bite. And honestly, when a dessert is made from real cream cheese, eggs, and heavy cream, you know you’re getting something rich and wholesome (in spirit and flavor, anyway).
Here’s a full breakdown of what you’re biting into with every heavenly slice:
| Nutrient | Amount per Serving (1 slice) |
|---|---|
| Serving Size | 1 slice (approx. 1/12 cake) |
| Calories | 420 |
| Total Fat | 30g |
| Saturated Fat | 18g |
| Unsaturated Fat | 9g |
| Trans Fat | 1g |
| Cholesterol | 120mg |
| Sodium | 250mg |
| Carbohydrates | 30g |
| Fiber | 0g |
| Sugar | 24g |
| Protein | 7g |
| Calcium | 10% DV |
| Iron | 4% DV |
| Potassium | 110mg |
| Vitamin A | 15% DV |
| Vitamin C | 0% DV |
Note: These values are estimates and can vary slightly depending on the specific brands of ingredients you use. Still, they give you a pretty solid picture of what to expect.
Cooking Time & Yield: What to Expect in Your Kitchen Timeline
Before you dive into your apron and playlist of choice, here’s a clear breakdown of how much time this Junior’s Cheesecake journey will take. Spoiler: most of it is hands-off (so yes, you can totally catch up on emails or sneak in a few episodes of your favorite show while the magic happens).
| Prep Time | 30 minutes |
|---|---|
| Cook Time | 1 hour 10 minutes |
| Chilling Time | 4–6 hours (preferably overnight) |
| Total Time | About 6 hours (with chilling) |
Tip: If you’re making this for an event or dinner party, prep it the day before. It gives the cheesecake time to fully set and develop that signature creaminess.
Yield
| Yield | 1 cheesecake (serves 10–12 slices) |
Whether you’re feeding a crowd or hoarding slices for midnight snacks (no judgment here), one batch of this Junior’s Cheesecake delivers enough to share… or not.
Cuisine
| Cuisine | American (with New York roots) |
Born in Brooklyn, beloved nationwide—this cheesecake is pure American comfort with just a touch of New York sass. It’s what we call a classic for good reason.
And just like that, you’ve got yourself a homemade Junior’s Cheesecake that could rival any New York bakery window—minus the subway ride or the line out the door. There’s something incredibly satisfying about creating a dessert this indulgent with your own two hands. It’s not just about the taste (although, let’s be honest, that first bite is pretty unforgettable), it’s about slowing down, treating yourself, and maybe even impressing the socks off your dinner guests.
This cheesecake isn’t fussy. It doesn’t demand perfection or a culinary school résumé. What it offers is comfort, creaminess, and a buttery sponge base that makes every forkful feel like a little celebration. Whether you’re whipping it up for a holiday gathering, a birthday bash, or simply because it’s Tuesday and you deserve it—this recipe’s got your back.
And here’s the best part: now that you’ve conquered the legendary Junior’s Cheesecake recipe, you can tweak, top, and serve it any way you like. Fresh berries, chocolate drizzle, a dash of cinnamon—this is your canvas. Make it yours.
So, next time someone says, “You made this from scratch?”—you can smile, hand them a slice, and pretend it wasn’t all that hard (we’ll keep your secret). Because this cheesecake? It’s not just dessert. It’s your new signature move.
Ready to wow them again next weekend?
Frequently Asked Questions About Junior’s Cheesecake
Can I substitute ingredients in this Junior’s Cheesecake recipe?
Yes, but with a few cautions. Stick to full-fat cream cheese for that iconic texture—low-fat just won’t cut it. You can use vanilla bean paste instead of extract if you want an extra gourmet twist. If you’re out of cake flour for the sponge crust, mix 1 tablespoon of cornstarch with enough all-purpose flour to make 1/3 cup.
Can I skip the sponge cake crust?
Technically, yes—but then it wouldn’t be a true Junior’s Cheesecake. That fluffy base is what makes this dessert stand out. If you’re really pressed for time, a traditional graham cracker crust works too, but the texture will be different.
How do I store leftovers from this Junior’s Cheesecake recipe?
Pop leftover slices into an airtight container and refrigerate for up to 5 days. You can also freeze them individually—wrap in plastic, then foil, and thaw in the fridge overnight when you’re ready for round two.
Can I make Junior’s Cheesecake ahead of time?
Absolutely! In fact, it’s better that way. This Junior’s Cheesecake loves a good chill. Make it a day before your event, let it set overnight, and serve like a boss the next day.
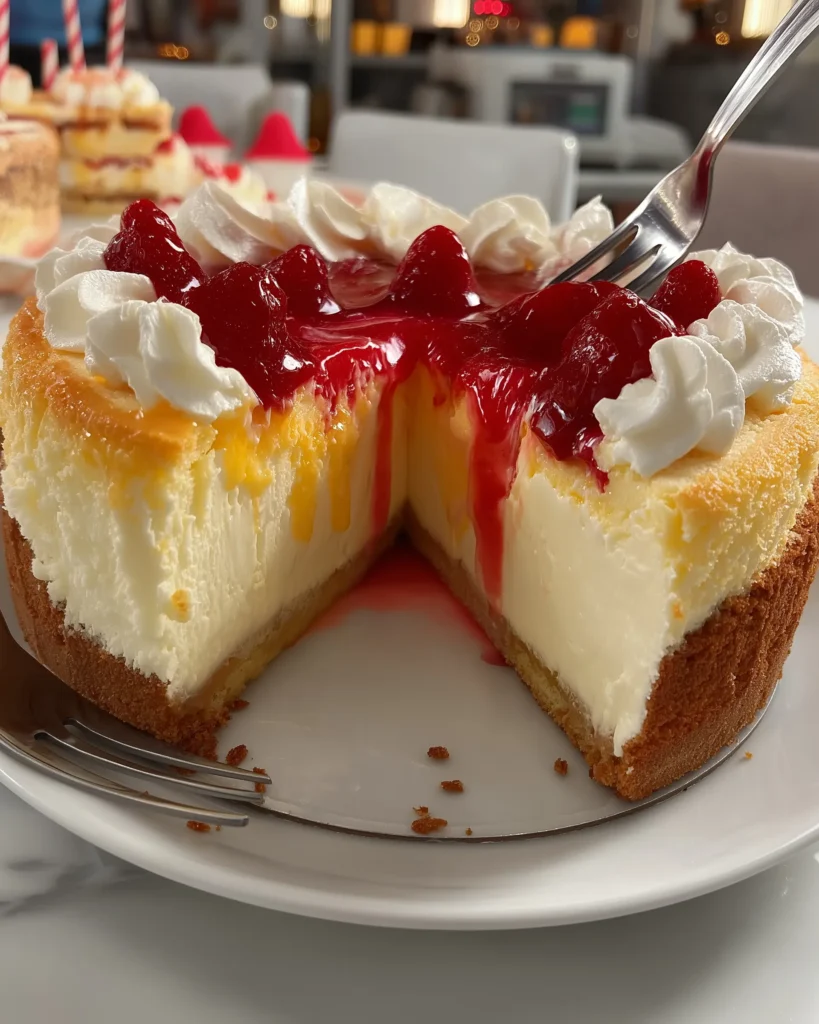
What toppings go best with Junior’s Cheesecake?
Classic is always a winner, but feel free to add fresh strawberries, blueberry compote, chocolate ganache, or even a swirl of caramel. The beauty of this Junior’s Cheesecake recipe is how well it pairs with almost anything sweet.
