Let’s be real — some childhood treats just hit differently. And if you grew up savoring that first bite of a Hostess Cupcake, you know exactly what I mean. The soft, chocolatey cake, the dreamy marshmallow filling, that signature swirl on top—it was the ultimate lunchbox flex.
But what if I told you that you could recreate that magic right in your kitchen? Yes, you can, and trust me, these Homemade Hostess Cupcakes are even better than the store-bought version.
Whether you’re looking to impress your kids, surprise your friends, or simply indulge in a little nostalgic baking therapy, this Hostess Cupcakes Recipe is about to become your new best friend. And don’t worry — I’ll walk you through each step so you can nail it, even if your last baking attempt was more “Pinterest fail” than “pastry chef.”
Contents
- 1 Why You’ll Love This Hostess Cupcakes Recipe
- 2 Ingredients You’ll Need
- 3 Equipment You’ll Need
- 4 Step-by-Step To Prep Hostess Cupcakes
- 5 Cooking Tips & Tricks
- 6 Storage Tips
- 7 A Little Storytime: Why These Cupcakes Matter
- 8 Nutritional Information: What You Need to Know
- 9 Cooking Time Breakdown
- 10 Frequently Asked Questions
- 10.1 Can I substitute an ingredient in this recipe?
- 10.2 How do I store Homemade Hostess Cupcakes?
- 10.3 Can I freeze the Hostess cupcakes?
- 10.4 Why do you use hot coffee in the batter?
- 10.5 Can I make mini Homemade Hostess Cupcakes instead?
- 10.6 Do I need a piping bag to fill the Hostess cupcakes?
- 10.7 Can I make these Hostess cupcakes gluten-free?
Why You’ll Love This Hostess Cupcakes Recipe
- Better Than Store-Bought – No preservatives, just rich, real ingredients.
- Perfect for All Occasions – Lunchboxes, birthday parties, or midnight snack attacks.
- A Fun Baking Project – Get the kids involved or treat yourself to a solo kitchen adventure.
If you’re a chocolate lover, you won’t want to miss this Chocolate Strawberry Cake with Ganache and Berries — a show-stopping dessert with rich flavors.
Ingredients You’ll Need
For the Hostess Cupcakes:
- 1 cup unsweetened cocoa powder
- 1 1/2 cups all-purpose flour
- 1 1/2 teaspoons baking powder
- 1 teaspoon baking soda
- 1 teaspoon salt
- 1 cup granulated sugar
- 2 large eggs (room temperature)
- 1/2 cup buttermilk (room temperature)
- 1/2 cup plain Greek yogurt or sour cream
- 1/2 cup melted coconut oil
- 1 tablespoon vanilla extract
- 1/2 cup hot black coffee (trust me, it enhances the chocolate flavor!)
For the Marshmallow Fluff Filling:
- 3 egg whites
- 3/4 cup granulated sugar
- 1/2 teaspoon cream of tartar
- 1 teaspoon pure vanilla extract
For the Chocolate Glaze:
- 1 cup semi-sweet chocolate chips
- 1/3 cup milk
- 1 cup white chocolate chips (melted, for the classic swirl)
Equipment You’ll Need
Before we dive into the magic of making Homemade Hostess Cupcakes, let’s make sure your kitchen is ready for action. Here’s what you’ll need:
- Mixing bowls – At least two, because nobody wants to keep washing dishes mid-baking.
- Whisk & electric mixer – A whisk for the dry ingredients, and an electric mixer for the batter and marshmallow fluff.
- Muffin tin & cupcake liners – Because freehand cupcakes are a disaster waiting to happen.
- Measuring cups & spoons – Precision is key in baking, so don’t just eyeball it.
- Spatula – For scraping every last bit of that delicious batter.
- Double boiler or heatproof bowl – Essential for making the marshmallow fluff filling.
- Piping bags with tips – Helps with the filling and, of course, the signature white swirl.
- Knife or cupcake corer – To hollow out the cupcakes for the filling.
- Microwave-safe bowl – For melting chocolate without burning it (because nobody likes a scorched mess).
Step-by-Step To Prep Hostess Cupcakes
1. Prepping the Cupcake Batter

Begin by getting your oven warm—set it to 350°F (175°C). While it heats up, get your muffin tray ready by placing paper liners in each slot. This ensures you’re ready to roll once the batter is mixed.
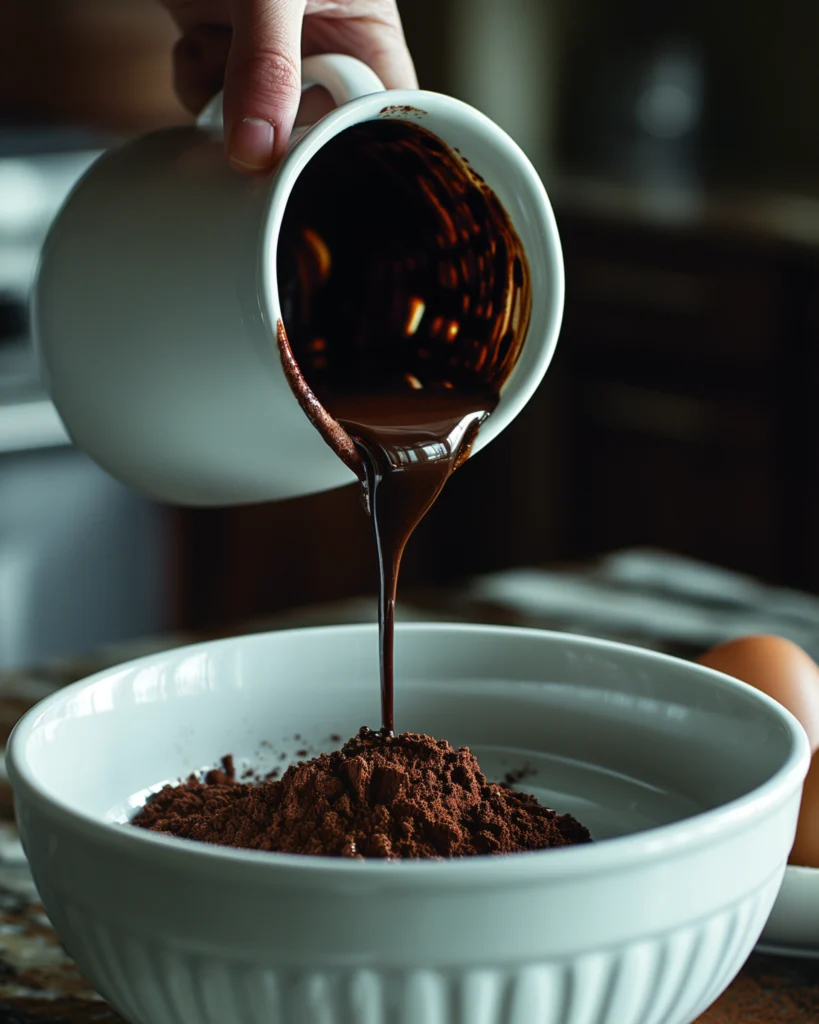
In a large bowl, whisk together the cocoa powder, all-purpose flour, baking powder, baking soda, and salt. These dry ingredients set the foundation for your rich, chocolatey cupcakes.
In a separate bowl, beat the sugar, eggs, buttermilk, Greek yogurt (or sour cream), and vanilla extract until smooth and creamy. Gently pour in the melted coconut oil and stir until everything blends together smoothly.
Bit by bit, mix the dry stuff into the wet bowl, stirring only until it all comes together without overmixing. Finally, pour in the hot black coffee, mixing until you have a smooth, slightly thin batter. (Don’t panic—it’s supposed to look like this!)
2. Baking the Hostess Cupcakes

Fill each cupcake liner about 2/3 full with batter, then pop the tray into the oven. Place the dish in the preheated oven and allow it to cook for approximately 18 to 20 minutes, monitoring its progress closely. To ensure it is fully baked, gently insert a slender skewer or toothpick into the middle; if it emerges without any sticky residue, the baking process is complete.
Once done, remove them from the oven and let them cool in the pan for 5 minutes, then transfer to a wire rack to cool completely. (Patience is a virtue here—filling warm Hostess Cupcakes is a recipe for disaster.)
3. Making the Marshmallow Fluff Filling

While the Hostess Cupcakes cool, it’s time for that iconic marshmallow filling.
Set up a double boiler (or place a heatproof bowl over a pot of simmering water) and whisk together the egg whites, granulated sugar, and cream of tartar. Stir continuously until the sugar blends in completely and the mixture feels gently heated.
Take the pan off the stove, then whip the mixture on high with an electric mixer until it holds firm, fluffy peaks (Translation: when you lift the beaters, the peaks should stand tall.) Fold in the vanilla extract and transfer the fluff into a piping bag.
4. Filling the Hostess Cupcakes
With a paring knife or a cupcake corer, gently carve out a small center from the top of each cupcake. Fill each one with marshmallow fluff, making sure not to overfill. Smooth the tops to keep things neat.
5. Preparing the Chocolate Glaze

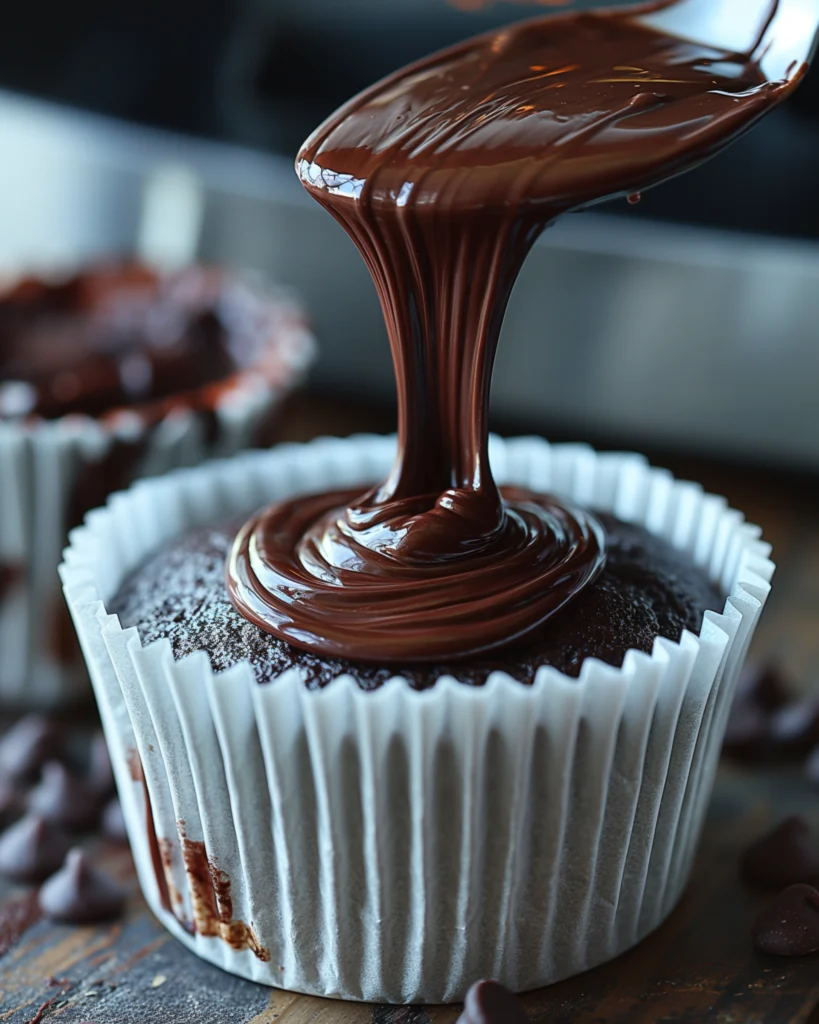
In a microwave-safe bowl, melt the semi-sweet chocolate chips with milk in 30-second intervals, stirring each time until smooth. Gently dip the top of each cupcake into the glaze, then lift it up and let the excess drip off on its own.
6. Adding the Signature White Swirl
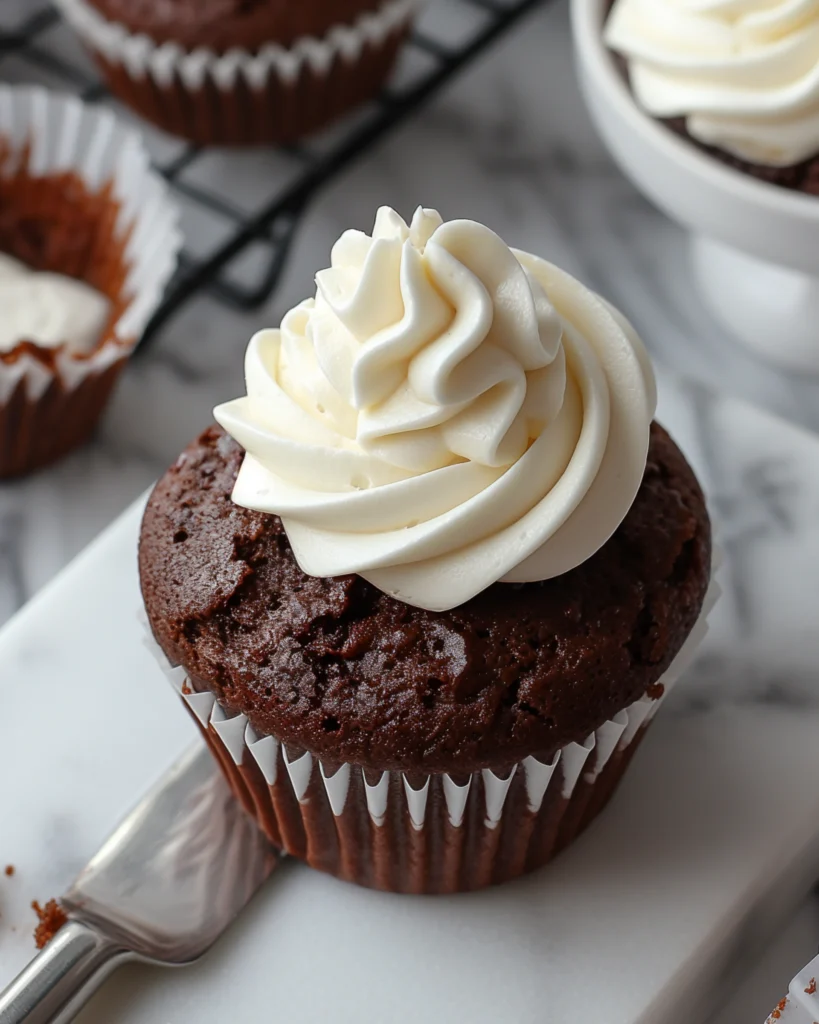
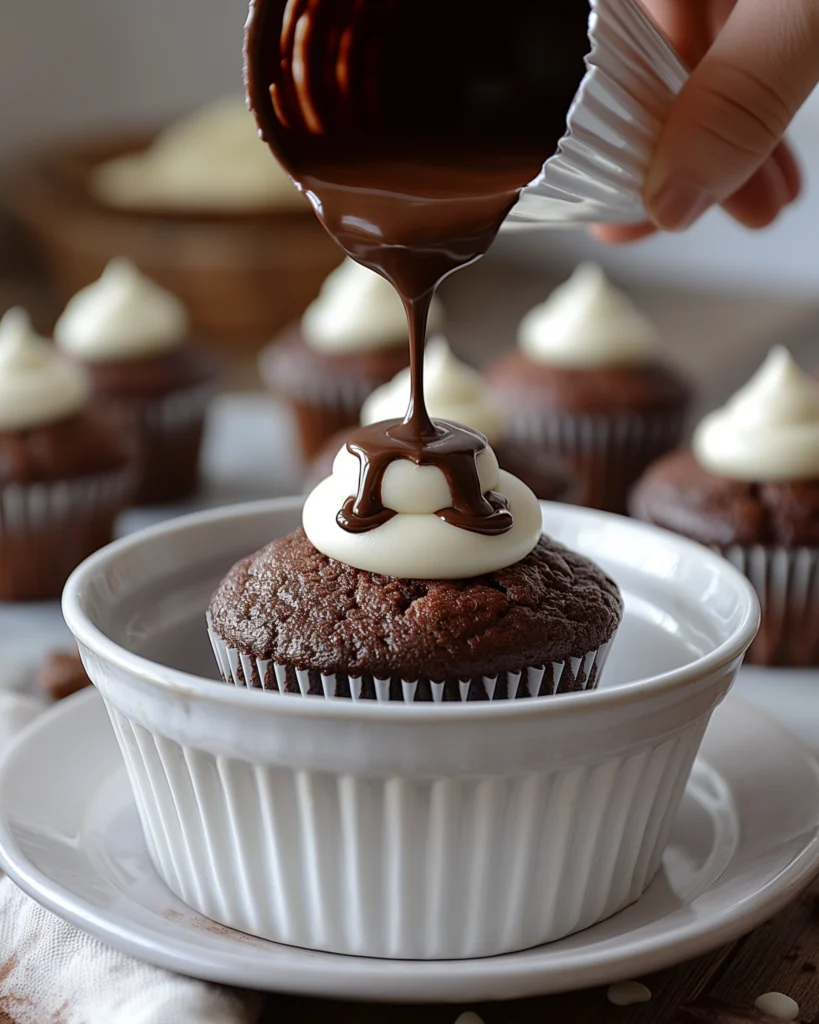
Melt the white chocolate chips and transfer to a piping bag with a fine tip. Pipe the classic swirls across the top of each cupcake, then let them set before serving.
Cooking Tips & Tricks
- Use room temperature ingredients. Cold eggs and dairy don’t mix as well and could mess with your batter.
- Coffee is your secret weapon. It won’t make your Hostess Cupcakes taste like coffee—it just intensifies the chocolate flavor.
- Don’t overmix the batter. Stirring too much can make the Hostess Cupcakes dense instead of light and fluffy.
- Chill before swirling. Let the chocolate glaze set for a few minutes before adding the white swirl to avoid melting.
- Piping hack. No piping bag? Grab a plastic zip bag and trim a small piece off one corner to create a simple piping tool.
- Test your marshmallow fluff. If it’s too runny, beat it for another minute to stiffen it up.
Want more chocolatey goodness? This Matilda Chocolate Cake is a rich and fudgy delight that will satisfy any chocolate craving.
Storage Tips
- To maintain freshness and preserve quality, ensure the item is placed inside a well-sealed container and kept in a cool, dry area at ambient room temperature. To enjoy the best flavor and texture, try to eat them within two days.
- Refrigerator: Keeps fresh for up to 5 days.
- Freezer: Freeze (without glaze) for up to 2 months; thaw before glazing.
If you love indulgent, gooey desserts, be sure to check out this Strawberry Earthquake Cake — a rich and irresistible treat with layers of flavor.
A Little Storytime: Why These Cupcakes Matter
I still remember the first time I made these Homemade Hostess Cupcakes—it was for my son’s school bake sale. Let’s just say my first batch looked more like chocolate blobs than cupcakes, but once I nailed the white swirl, the kids were convinced they came from a bakery.
That moment made me realize that baking isn’t just about finishing a recipe—it’s about the small wins along the journey. Whether it’s nailing the perfect swirl of frosting or sneaking a cheeky spoonful of batter (come on, who hasn’t?), these cupcakes bring happiness in the most unexpected ways.
Looking for another fluffy and light dessert? Try this Cloud Cake, which melts in your mouth with every bite.
Nutritional Information: What You Need to Know
Indulging in a Homemade Hostess Cupcake is a delightful treat, but it’s always good to know what’s in your favorite dessert. These cupcakes strike a balance between indulgence and homemade goodness—without the preservatives and additives found in store-bought versions. They might not qualify as health food, but they’re made with wholesome ingredients and provide a small boost of nutrition.
Each cupcake contains healthy fats from coconut oil, a dose of calcium from the marshmallow filling, and antioxidants from cocoa powder. However, they are still a dessert, meaning they are higher in sugar and carbohydrates. If you’re mindful of what you eat, you can still treat yourself by enjoying smaller portions or adjusting the recipe—like cutting back on sugar or using whole wheat flour for an extra fiber boost.
Here’s a detailed breakdown of the nutritional content per one standard cupcake:
| Nutrient | Amount Per Serving |
|---|---|
| Serving Size | 1 cupcake |
| Calories | 285 kcal |
| Total Fat | 14g |
| Saturated Fat | 8g |
| Unsaturated Fat | 5g |
| Trans Fat | 0g |
| Cholesterol | 45mg |
| Sodium | 160mg |
| Carbohydrates | 38g |
| Fiber | 3g |
| Sugar | 26g |
| Protein | 4g |
| Calcium | 55mg |
| Iron | 2.1mg |
| Potassium | 180mg |
Additional Notes:
- Lower Sugar Option: Swap half the sugar with a natural sweetener like monk fruit or coconut sugar.
- Gluten-Free Alternative: Use a 1:1 gluten-free baking flour instead of all-purpose flour.
- Higher Protein Boost: Add a scoop of chocolate protein powder to the batter for extra protein.
- Dairy-Free Option: Replace buttermilk with almond milk mixed with a teaspoon of vinegar.
Cooking Time Breakdown
When planning to make Homemade Hostess Cupcakes, it’s essential to factor in the different cooking stages, from mixing the batter to allowing the Hostess Cupcakes to set perfectly. Here’s how much time you’ll need:
| Cooking Stage | Time Required |
|---|---|
| Prep Time | 20 minutes |
| Cook Time | 18-20 minutes |
| Chilling Time | 30 minutes |
| Total Time | About 1 hour 10 minutes |
Additional Notes on Cooking Time:
- Prep Time: Includes measuring ingredients, mixing the batter, and preparing the muffin tin.
- Cook Time: Hostess Cupcakes bake at 350°F (175°C) until set and springy to the touch.
- Chilling Time: Allowing the Hostess Cupcakes to cool fully before adding the marshmallow filling and chocolate glaze ensures the perfect texture and structure.
- Assembly Time: Piping in the filling and adding the final chocolate glaze and decorative swirl may take an additional 10 minutes.
Yield
- Standard Yield: 12 Hostess Cupcakes
- Mini Cupcake Yield: About 24 mini Hostess Cupcakes (adjust baking time to 10-12 minutes)
- Double Batch: If you want to make more, simply double the ingredients for 24 Hostess Cupcakes.
Cuisine
- American Cuisine – Inspired by the classic Hostess Cupcakes, this homemade version brings nostalgic flavors with a fresh, real-ingredient twist.
Now that you have the timing breakdown, you can plan your baking session efficiently and enjoy these Homemade Hostess Cupcakes without the stress!
There’s something undeniably magical about biting into a Homemade Hostess Cupcake—that perfect balance of rich chocolate, fluffy marshmallow filling, and a glossy, melt-in-your-mouth glaze. Whether you grew up peeling back the wrapper of the store-bought version or this is your first time making them from scratch, these Hostess Cupcakes bring a nostalgic charm with every bite.
Baking at home isn’t just about the end result; it’s about the process—the scent of chocolate filling the kitchen, the satisfaction of piping in that creamy center, and the fun of swirling the signature white loops on top. And let’s be honest, there’s something extra special about knowing exactly what’s in your food. No preservatives, no mystery ingredients—just real, simple goodness.
The best part? You don’t need a special occasion to whip up a batch. Whether it’s a midweek treat, a bake sale favorite, or a surprise for the chocolate lover in your life, these Homemade Hostess Cupcakes are guaranteed to bring smiles all around. They store well, taste even better the next day, and let’s not forget—there’s always an excuse to sneak just one more.
So, preheat that oven, gather your ingredients, and get ready to create a little kitchen magic. Because sometimes, the best moments are the ones made from scratch.
Frequently Asked Questions
Can I substitute an ingredient in this recipe?
Absolutely! If you don’t have buttermilk on hand, you can make your own buttermilk by mixing ½ cup of milk with a teaspoon of vinegar or lemon juice. For a dairy-free option, swap buttermilk for almond milk with a little vinegar. Greek yogurt and sour cream are interchangeable in this recipe, so use whichever you have available.
How do I store Homemade Hostess Cupcakes?
For optimal freshness, keep cupcakes in an airtight container at room temperature for up to two days. For longer storage, refrigerate them for up to five days and let them reach room temperature before serving for the best texture.
Can I freeze the Hostess cupcakes?
Yes! Once the Hostess Cupcakes are fully assembled, place them in a single layer in an airtight container and freeze for up to 3 months. When ready to eat, thaw them at room temperature for about 30 minutes before serving.
Why do you use hot coffee in the batter?
Hot coffee enhances the chocolate flavor, making the Hostess Cupcakes taste even richer. If you don’t want to use coffee, you can substitute it with hot water or warm milk, but the depth of flavor won’t be quite the same.
Can I make mini Homemade Hostess Cupcakes instead?
Yes! Simply use a mini muffin tin and adjust the baking time to 10-12 minutes. Keep an eye on them, as they bake faster than regular-sized cupcakes.
Do I need a piping bag to fill the Hostess cupcakes?
Not at all! If you don’t have a piping bag, use a zip-top bag with a small corner snipped off. You can also carefully spoon the marshmallow fluff into the center of each cupcake.
Can I make these Hostess cupcakes gluten-free?
Yes! Simply replace the regular flour with an equal amount of a gluten-free blend made for baking. While there might be a subtle change in consistency, with a slightly altered feel compared to when freshly made, rest assured that the overall flavor and taste will remain delightful and just as enjoyable. For an easy gluten-free alternative, try this Homemade Gluten-Free Flour Blend — perfect for baking cupcakes without compromising texture or taste.


