Contents
- 1 The Ultimate Matilda Chocolate Cake for Real-Life Magic (and Chocolate Cravings)
- 2 How to Make This Matilda Chocolate Cake (Without Losing Your Mind)
- 3 Let’s Talk About That Fudge Frosting
- 4 Cooking Tips for Your Matilda Chocolate Cake
- 5 A Quick Story: The Matilda Chocolate Cake That Made Me “That Mom”
- 6 FAQs About This Matilda Chocolate Cake Recipe
- 6.1 Can I substitute the sour cream in this Matilda chocolate cake recipe?
- 6.2 How can I store leftovers?
- 6.3 Do I really need the instant coffee in the cake batter?
- 6.4 What’s the best way to store leftovers of this Matilda chocolate cake?
- 6.5 Can I make this Matilda chocolate cake recipe ahead of time?
- 6.6 Can I freeze the cake?
- 6.7 Do I need a stand mixer for the frosting?
The Ultimate Matilda Chocolate Cake for Real-Life Magic (and Chocolate Cravings)
There’s something about a rich, moist chocolate cake that just feels like therapy—especially when it’s this Matilda chocolate cake. You know, the one that looks like it came straight from a movie scene where a kid is forced to eat an entire cake in front of a crowd (but secretly, we all kinda wished we were that kid)? Yeah, that one.
Whether you’re dealing with work emails that won’t stop, a toddler who thinks bedtime is optional, or you just want to bake something that feels like a chocolatey celebration of you, this Matilda chocolate cake is here for it all. It’s dramatic, decadent, and surprisingly doable—even if you’re not a “fancy cake” kind of baker.
But here’s the real scoop: you don’t need a birthday, holiday, or excuse to make it. You just need a craving for deep chocolate flavor, creamy fudge frosting, and that nostalgic joy of licking the spatula when no one’s watching. It’s a sweet escape in the middle of your busy day, and yes—it’s worth every. single. bite.
So if you’re looking for a matilda chocolate cake recipe that gives bakery-level wow without requiring culinary school skills, welcome to your new favorite kitchen moment.
Why You’ll Love This Matilda Chocolate Cake
- It’s forgiving. Didn’t have time to patiently wait for your eggs to lose their chill and reach that perfect, slightly warm state before baking? It’ll still be amazing.
- That frosting? Like a chocolate truffle and whipped cream had a delicious baby.
- Crowd-pleaser. Perfect for birthdays, book clubs, or just a random Tuesday.
- Moist and rich. We know, “moist” gets a bad rap—but trust us, it’s the highest compliment for this Matilda Chocolate Cake.
What You’ll Need – Ingredients That Work Overtime
For the Matilda Chocolate Cake:
- 2 cups sifted all-purpose flour (260g)
- 1 tsp salt
- 1.5 tsp baking powder
- 1.5 tsp baking soda
- ¾ cup Dutch-processed cocoa powder (75g)
- 2 tsp instant coffee
- ¾ cup boiling water (180g)
- 1 cup sour cream, room temp if you can swing it (240g)
- ⅔ cup vegetable oil (133g)
- 3 large eggs, ideally at room temperature
- ⅓ cup buttermilk (make it with ⅓ cup whole milk + 1 tsp vinegar)
- 1 cup granulated sugar (200g)
- ⅔ cup light brown sugar (135g)
For the Chocolate Fudge Frosting:
- 300g dark chocolate
- 3 tbsp corn syrup
- 8 oz cream cheese, softened (226g)
- ⅓ cup cocoa powder (33g)
- 1 cup powdered sugar (100g)
- ¼ tsp salt
- 1 ¼ cups chilled heavy cream
If you’re gluten-free, you can easily substitute with this homemade gluten-free flour blend that works like a charm in cakes
How to Make This Matilda Chocolate Cake (Without Losing Your Mind)
Baking this matilda chocolate cake is a lot less intimidating than it looks. No need for fancy tools, just a big mixing bowl, a whisk, and maybe a little faith in the power of chocolate. Here’s how to make this showstopper step by step.
Step 1: Get Prepped and Preheat
Before you dive into baking, set your oven to 350°F (175°C). Prepare a pair of round baking tins, each measuring nine inches across, by coating the interior with a thin layer of butter or oil to prevent sticking, then carefully place a sheet of parchment paper at the base to guarantee effortless cake removal after baking. This will save you from that heartbreaking cake-stuck-to-the-pan moment.
Also, go ahead and sift your flour and cocoa powder now—it makes the batter smoother and helps avoid dry spots. Don’t skip this if you want that melt-in-your-mouth texture.
Step 2: Mix the Dry Team
In a large bowl, whisk together:
- 2 cups sifted all-purpose flour
- 1.5 tsp baking powder
- 1.5 tsp baking soda
- 1 tsp salt
- ¾ cup Dutch-process cocoa powder
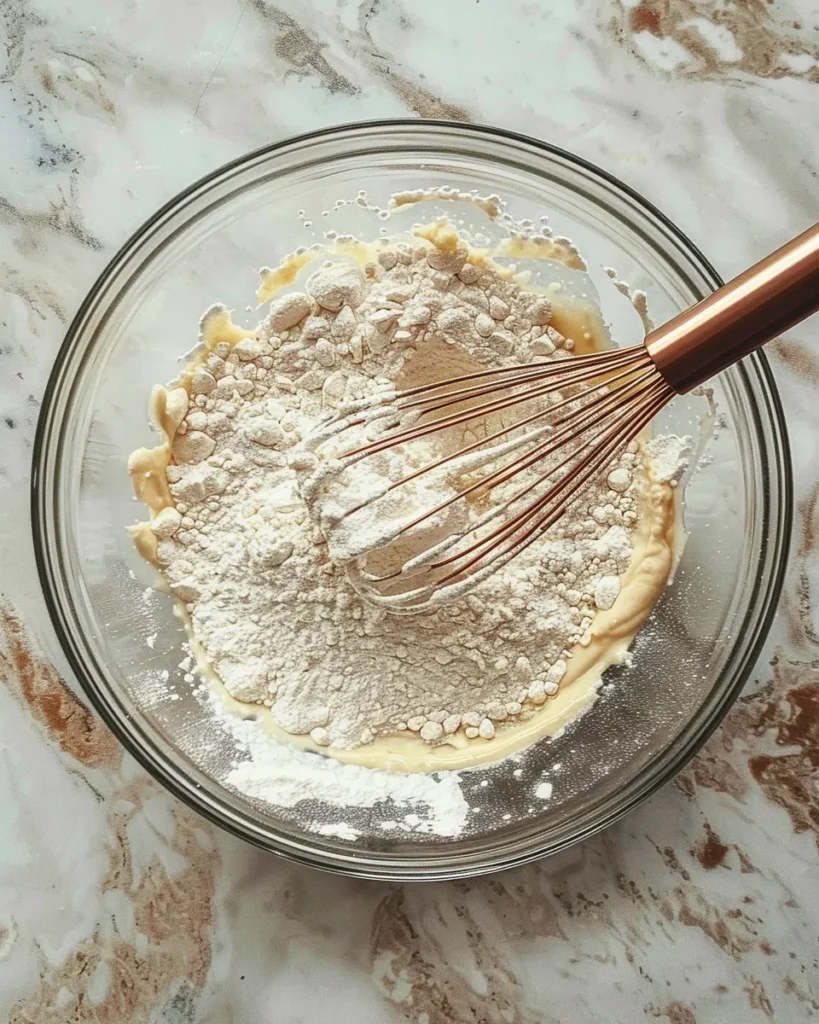
Whisk until it looks like hot cocoa mix. Set it aside like the responsible baker you are.
Step 3: Activate the Chocolate Magic
In a small bowl, combine:
- 2 tsp instant coffee (don’t skip—it deepens the chocolate flavor)
- ¾ cup boiling water
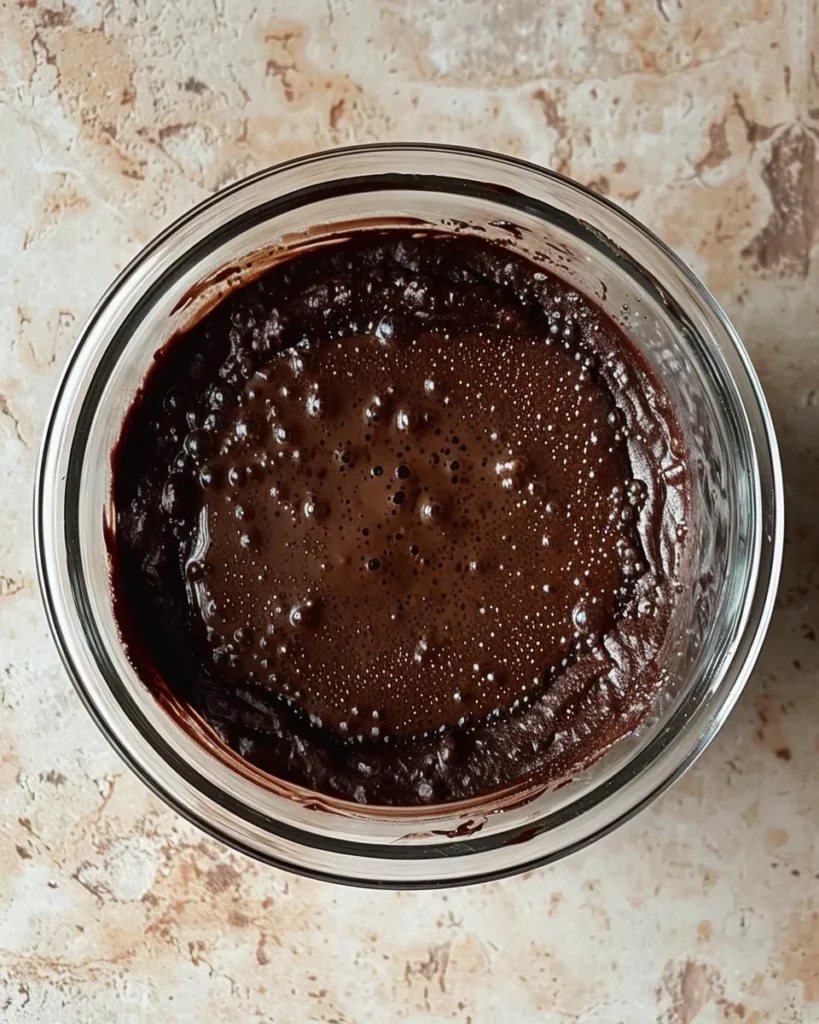
Stir until the coffee dissolves. Add this to your cocoa-flour mix slowly and stir until it’s a rich, chocolaty paste. This is where the flavor really begins to build.
Step 4: Whip Up the Wet Ingredients
In another large bowl, combine:
- 1 cup granulated sugar
- ⅔ cup light brown sugar
- ⅔ cup vegetable oil
- 3 large eggs
- ⅓ cup buttermilk (your DIY version: milk + vinegar)
- 1 cup sour cream
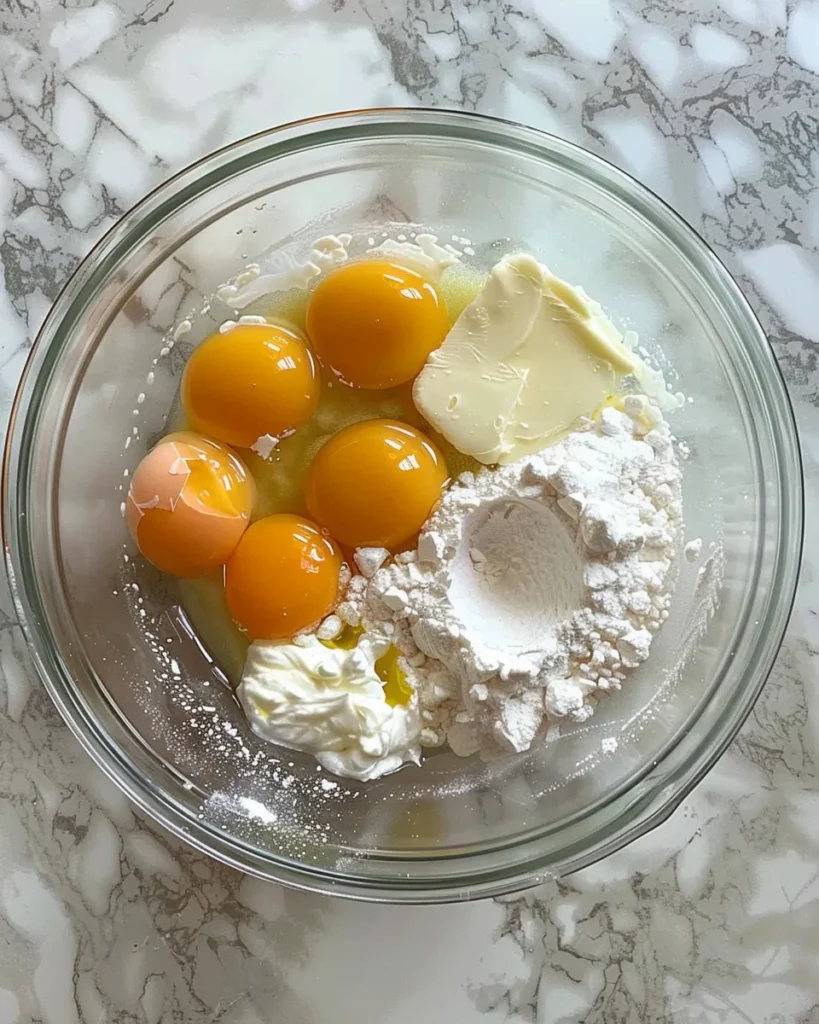
Whisk this together until smooth. If it looks a little curdled, that’s okay—it’ll all come together beautifully in the end.
Step 5: Combine and Conquer
Gradually introduce the liquid-based component into the bowl containing the dry ingredients, ensuring a steady and controlled flow to achieve an even combination without overwhelming the mixture. Stir until you’ve got a glossy, chocolatey batter. You don’t need to overmix—just make sure everything’s blended and there are no dry streaks.
Split the batter evenly between your prepared pans. Tap the pans on the counter a couple times to pop any air bubbles.
Step 6: Bake Your Beauty
Slide your pans into the oven and bake for about 30–35 minutes. You’ll know they’re done when a toothpick poked in the center comes out with just a few moist crumbs.
Let the cakes cool in their pans for about 10 minutes, then gently turn them out onto wire racks to cool completely.
Tip: Don’t frost a warm cake unless you’re in the mood for a slippy-slidey disaster.
Let’s Talk About That Fudge Frosting
Here’s where the matilda chocolate cake recipe really turns up the wow factor. This frosting is rich, creamy, and good enough to eat by the spoonful (no judgment).
Step 7: Melt and Cool
Start with:
- 300g dark chocolate
- 3 tbsp corn syrup
Melt them together gently using a double boiler or microwave in 30-second intervals, stirring in between. Once melted, let it cool a bit. You want it glossy and smooth, not scorching hot.
Step 8: Whip the Base
In a medium bowl, beat together:
- 8 oz cream cheese, softened
- ⅓ cup cocoa powder
- 1 cup powdered sugar
- ¼ tsp salt
This should be smooth and creamy. If it clings to your whisk like a chocolate cloud, you’re on the right track.
Step 9: Blend and Fluff
Once the chocolate mixture is cool, fold it into the cream cheese base. Now, slowly add:
- 1 ¼ cups chilled heavy cream
Use an electric mixer to beat until it’s thick, whipped, and spreadable. This frosting is fluffy, silky, and ridiculously chocolatey.
Step 10: Frost Like a Pro
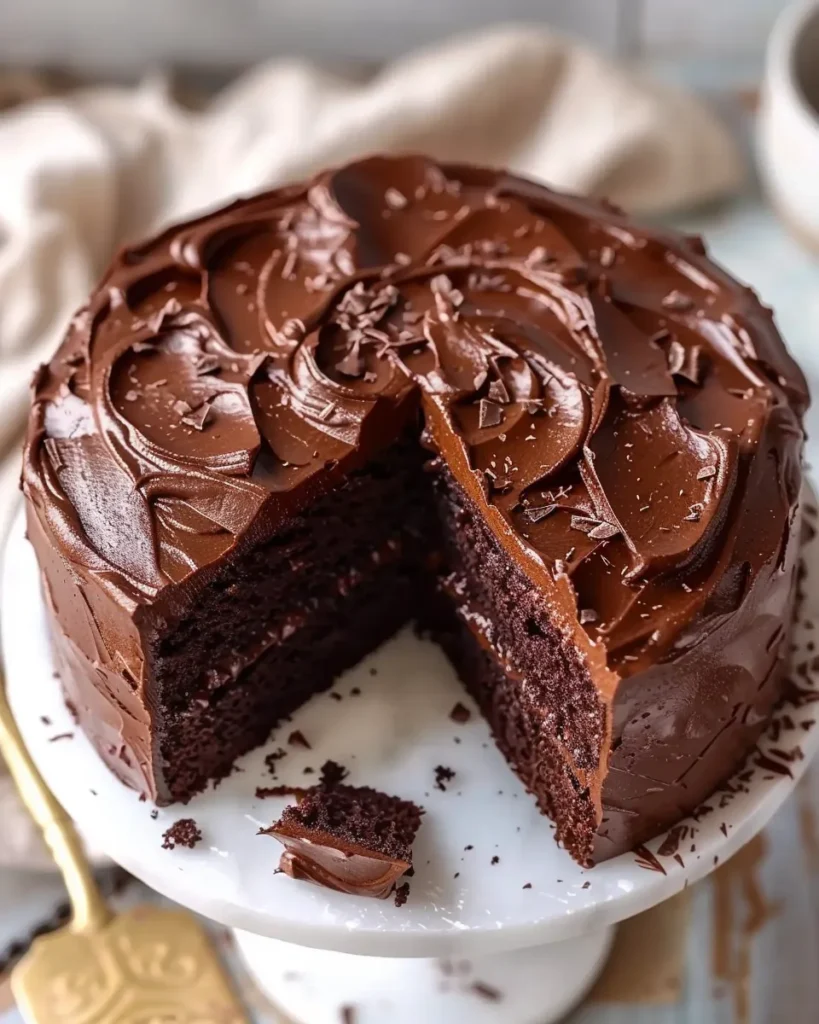
Place one cake layer on your plate or cake stand. Add a thick layer of frosting on top. Set the second layer on top, then cover the whole cake in frosting like you’re tucking it in for a nap.
You can go rustic with swirls or smooth it out with a spatula—there’s no wrong way to slather on this much chocolate.
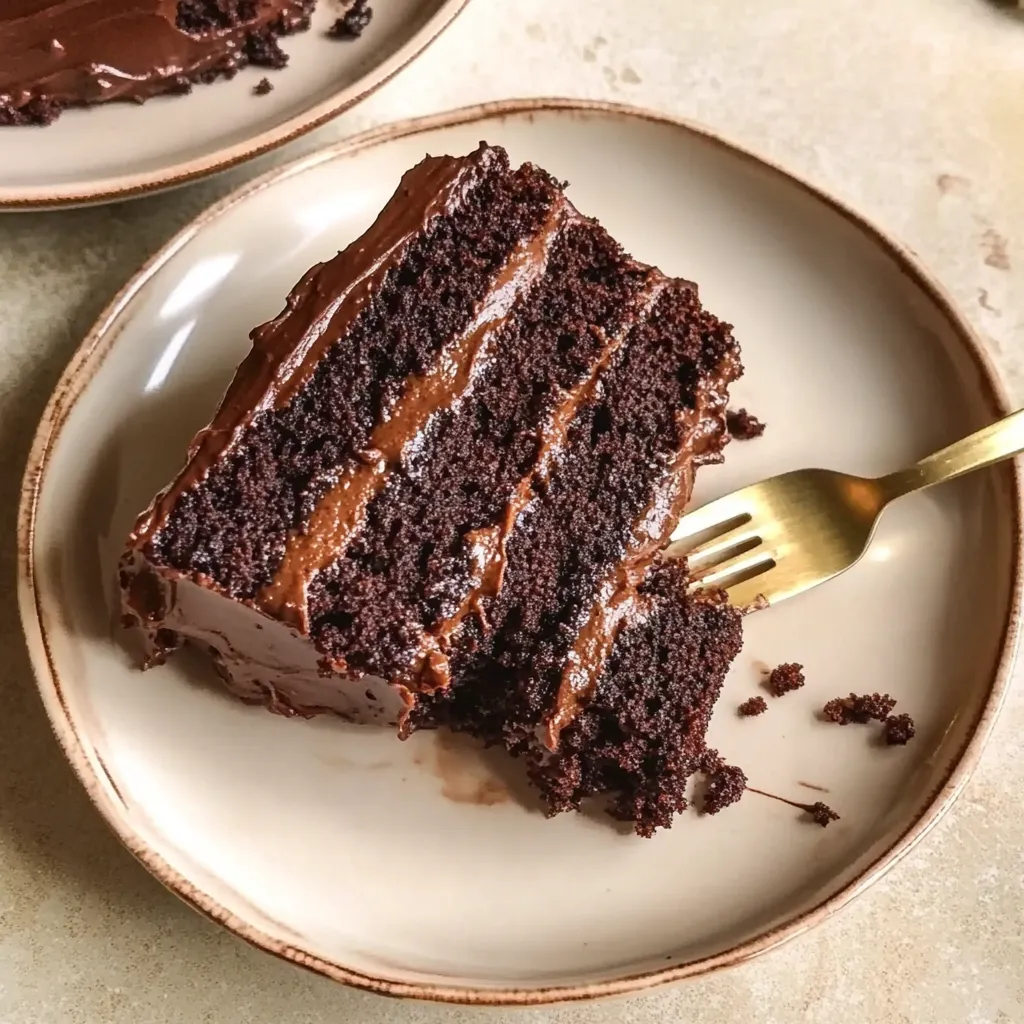
Optional: Top with chocolate curls, sprinkles, or even a few strawberries if you’re feeling fancy.
Cooking Tips for Your Matilda Chocolate Cake
- Room Temp is Your Friend: If you forget to bring the eggs or sour cream to room temperature, don’t panic. Just place the eggs in a bowl of warm water for a few minutes, and zap the sour cream in the microwave for 10 seconds.
- Don’t Overmix: Stir until just combined. Overmixing is the fast track to dense cake town.
- Coffee FTW: Even if you’re not a coffee fan, keep the instant coffee. It makes the chocolate flavor deeper, not “mocha.”
- Chill Before Slicing: If you can wait (we know—it’s hard), refrigerate the frosted cake for 30–60 minutes before cutting. It makes for cleaner slices and easier serving.
- Double the Frosting: Love a thick frosting layer? Double the frosting recipe. You won’t regret it.
If you love a moist, tender cake, make sure not to overmix once you add the flour. And for a different kind of sweetness, this carrot Bundt cake with cream cheese frosting hits the spot with its tangy, dreamy glaze.
A Quick Story: The Matilda Chocolate Cake That Made Me “That Mom”
This matilda chocolate cake recipe came into my life when my daughter asked for a “cake like in the movies” for her birthday. I had no idea what she meant until she pulled up that scene from Matilda. Challenge accepted.
I made the Matilda Chocolate Cake, took a deep breath, and brought it out during her party. The room went quiet—then cheers. I was officially “the mom who makes movie cakes.” And yes, I’ve made it for every one of her birthdays since. It’s our little tradition now.
Even my husband, who claims he “doesn’t like sweets,” has been caught sneaking slices at midnight. That’s how you know it’s real.
Whether you’re baking for a birthday, a celebration, or just because your chocolate cravings are calling, this cake is your answer. It’s the kind of dessert that makes people stop mid-bite and say, “Wait—did you make this from scratch?” You’ll just smile and nod, knowing you nailed every rich, fudgy layer. a rich, indulgent chocolate cake like no other can turn an ordinary day into something magical. If you’re exploring plant-based baking, this vegan gluten-free chocolate cake with oat is just as dreamy
There’s something timeless about a cake that feels like it belongs in a storybook, especially one as iconic as the Matilda chocolate cake. The deep cocoa flavor, the pillowy frosting, the unapologetic decadence—it all adds up to more than just a sweet treat. It’s comfort. It’s nostalgia. It’s the dessert version of a standing ovation.
What’s beautiful about this recipe is that it doesn’t require perfection. You don’t need to be a pastry chef or own the latest mixer. All you need is a little time, a big bowl, and a love for chocolate that runs deep. It’s meant to be messy, gooey, and outrageously satisfying. Each slice tells a story—one that starts with a craving and ends with crumbs on the plate and smiles around the table.
So whether you’re impressing guests or enjoying a quiet moment with a fork and zero interruptions, this matilda chocolate cake recipe is ready to be your go-to showstopper. One bite in, and you’ll understand why it’s earned a spot in so many hearts—and kitchens.
FAQs About This Matilda Chocolate Cake Recipe
Can I substitute the sour cream in this Matilda chocolate cake recipe?
Absolutely! If you’re out of sour cream, you can use plain Greek yogurt as a 1:1 substitute. It’ll still keep your cake moist and tangy without skipping a beat.
How can I store leftovers?
This Matilda chocolate cake keeps beautifully in an airtight container at room temperature for 2–3 days, or in the fridge for up to 5. If you’re wondering about storing cookies, muffins, or other treats too, here’s a guide on the best way to store baked goods at home from Martha Stewart—super handy if you’ve got a full dessert table on your hands!
Do I really need the instant coffee in the cake batter?
We hear you—coffee in cake sounds odd. But trust us, it doesn’t make the cake taste like a latte. The instant coffee just deepens the chocolate flavor. If you’re not a fan, you can leave it out, but the richness won’t be quite the same.
What’s the best way to store leftovers of this Matilda chocolate cake?
If there’s any left (we won’t judge if there’s not), just wrap the cake tightly in plastic wrap or store it in an airtight container. It’ll keep on the counter for up to 2 days or in the fridge for 4–5 days. Allow it to sit out for a while until it naturally loses its chill, ensuring a softer, more enjoyable consistency that enhances both flavor and mouthfeel when it’s time to dig in.
Can I make this Matilda chocolate cake recipe ahead of time?
Totally! Bake the cake layers the day before and store them covered at room temperature. You can even make the frosting in advance and keep it in the fridge—just give it a good stir before using.
Can I freeze the cake?
Yes! This Matilda Chocolate Cake freezes like a dream. Wrap individual slices or whole layers in plastic wrap and foil. Store them in the freezer, where they will remain fresh and well-preserved for as long as eight weeks, allowing you to enjoy them at a later time without compromising quality. When you’re ready, thaw in the fridge overnight and frost (or devour) as needed.
Do I need a stand mixer for the frosting?
Nope! A hand mixer works just fine. You can even do it by hand with a little elbow grease and determination. Either way, that fudgy, creamy frosting is worth it.


