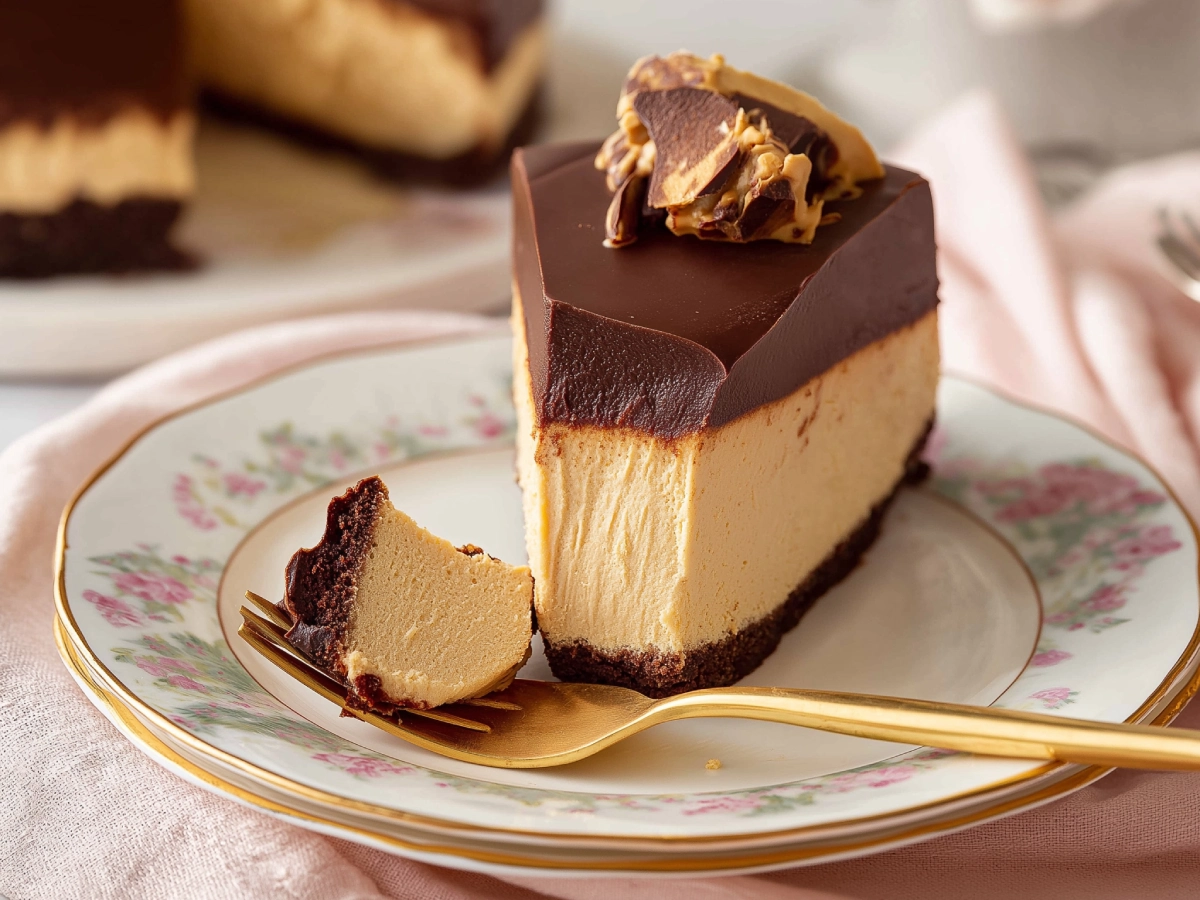
Ever have one of those days when the laundry is exploding, emails are stacking up, and the kids suddenly become gourmet critics? Trust me, I’ve been there. And that’s exactly why this peanut butter cheesecake might just become your secret weapon.
Rich, creamy, and just the right kind of indulgent, it feels like a tiny vacation on a fork — no passport required!
When I first stumbled into the world of homemade Peanut Butter Cheesecake, I thought it was reserved for those magical unicorns with endless free time. But this peanut butter cheesecake proves that even if your life feels like a whirlwind, you can still create something utterly delicious. Whether you’re trying to win over a picky eater, surprise your spouse, or just treat yourself after a long day, this Peanut Butter Cheesecake is your golden ticket.
Bonus? You don’t need fancy gadgets or a culinary degree. With just a handful of everyday basics and a touch of care, you’re all set. Plus, the chocolatey crust and silky ganache topping make it feel like you bought it from a high-end bakery — without the price tag or the judgmental stares when you go back for a second slice.
So grab a mixing bowl and your comfiest apron — it’s time to make magic happen with this peanut butter cheesecake!
Contents
- 1 Why You’ll Love This Peanut Butter Cheesecake
- 2 Equipment You’ll Need
- 3 Ingredients
- 4 Peanut Butter Cheesecake Recipe Steps
- 5 Cooking Tips & Tricks
- 6 Personal Anecdotes
- 7 Storage Tips for Peanut Butter Cheesecake
- 8 Nutrition Information
- 9 Cooking Time & Yield
- 10 Yield
- 11 Cuisine
- 12 Frequently Asked Questions
- 12.1 Can I substitute crunchy peanut butter for creamy peanut butter?
- 12.2 Can I use a store-bought crust instead of making it from scratch?
- 12.3 What’s the best way to store leftover peanut butter cheesecake?
- 12.4 My Peanut Butter Cheesecake cracked on top! What did I do wrong?
- 12.5 Can I make this peanut butter cheesecake ahead of time?
Why You’ll Love This Peanut Butter Cheesecake
- It’s indulgent without being overly complicated.
- Perfect for celebrations, potlucks, or a cozy night in.
- Kid-approved, husband-approved… self-approved!
Equipment You’ll Need
Before we dive into the deliciousness, make sure you’ve got these kitchen buddies ready:
- 9-inch springform pan
- Mixing bowls (one large, one medium)
- Electric mixer (or a really strong arm and whisk!)
- Food processor (or a zip-top bag and rolling pin for cookie crushing fun)
- Measuring cups and spoons
- Rubber spatula (trust me, it’s a lifesaver)
- Saucepan (small, for the ganache)
- Baking sheet (to catch any butter drips)
- Aluminum foil
- Cooling rack
- Sharp knife (for those picture-perfect slices)
Ingredients
For the Crust:
- 30 chocolate sandwich cookies (hello, Oreos!)
- 3 tablespoons granulated sugar
- 5 tablespoons melted unsalted butter (75ml)
For the Filling:
- 4 packages cream cheese (8 ounces/227g each), softened
- 1 cup creamy peanut butter (259g)
- 1 cup granulated sugar (200g)
- ½ cup sour cream (120g), room temperature
- ¼ teaspoon salt
- 4 large eggs, room temperature
- ⅔ cup heavy whipping cream (160ml)
- 1 teaspoon vanilla extract
For the Ganache Topping:
- 3 ounces semi-sweet chocolate, chopped (85g)
- ⅓ cup heavy whipping cream (80ml)
Peanut Butter Cheesecake Recipe Steps
Step 1: Prep That Pan
Lightly grease a 9-inch springform pan. Wrap the outside tightly with two layers of aluminum foil — think cozy winter scarf level of snug. This keeps the water out during the baking. Set the pan aside while you gather your ingredients.
Step 2: Create the Crust
Use a food processor to crush the chocolate sandwich cookies into tiny bits. No food processor? Toss them into a sturdy zip-top bag and crush with a rolling pin (bonus stress relief!).
Mix the crumbs with 3 tablespoons of sugar and the melted butter until it feels like damp sand. Press the mixture firmly into the bottom of your pan — get into the corners! Chill it in the freezer while you whip up the filling.
Step 3: Blend the Creamy Filling
In a large bowl, beat the cream cheese until smooth and creamy. This is the time to be patient — lumps here mean lumps later.
Mix the peanut butter and sugar together until the texture turns smooth and creamy. Next, gently stir in the sour cream, salt, and a splash of vanilla, just enough to blend everything nicely.
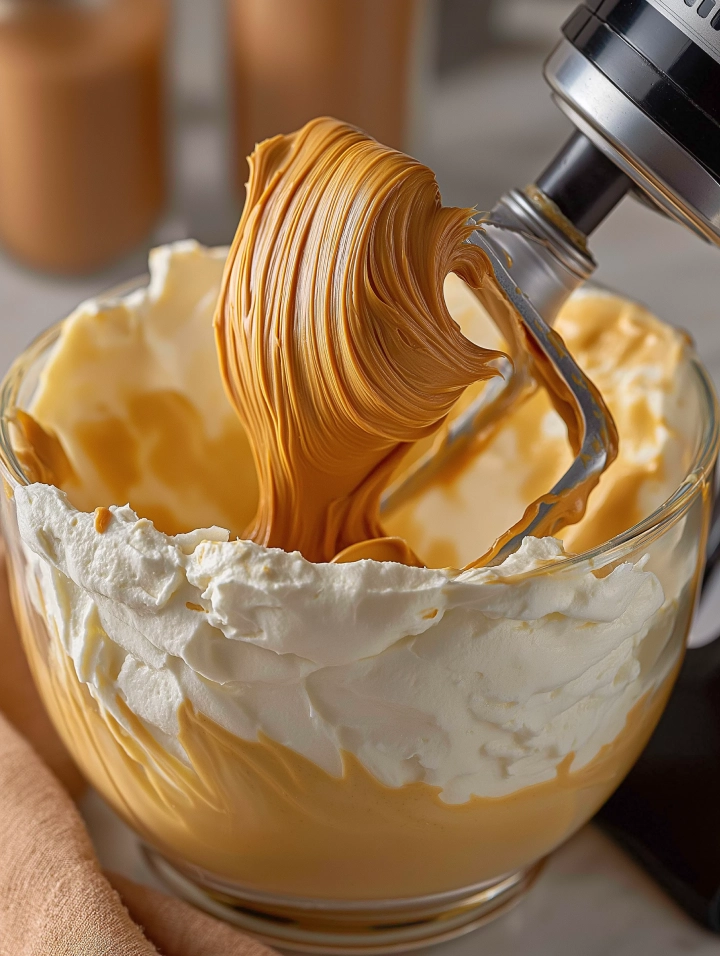
Now for the eggs: add them one at a time, beating lightly after each addition. (Overmixing = cracks, and we want a pretty cheesecake, right?)
Finally, stir in the heavy whipping cream. The batter should be luxuriously thick, like a rich peanut butter cloud.
Step 4: Pour and Smooth
Take your crust from the freezer and pour the Peanut Butter Cheesecake filling over it. Lightly bump the pan against the counter to help any hidden air bubbles escape.
Step 5: Bake It Right
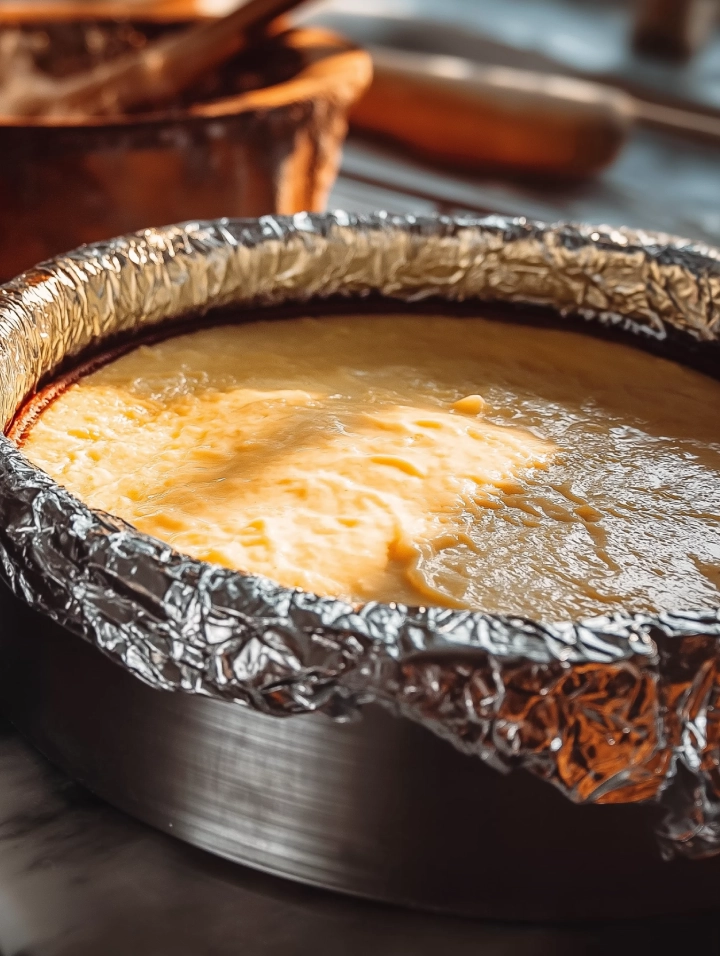
Place the pan into a large roasting pan and fill the roasting pan with about an inch of hot water (hello, DIY water bath). Bake at 325°F (163°C) for about 1 hour and 15 minutes.
You’ll know it’s done when the center is just slightly jiggly — like Jell-O, not soup.
Step 6: The Hardest Part: Cooling
After baking, leave the oven door slightly open and let the Peanut Butter Cheesecake rest inside for about an hour to cool down gently.
Take it out of the oven and lift it from the water bath. Remove the foil, then set it on a cooling rack and let it cool down completely.
Cover loosely with foil and refrigerate for at least 6 hours, preferably overnight. Good things come to those who wait!
Step 7: Time for the Ganache!
When your Peanut Butter Cheesecake is chilled and ready, it’s ganache time.
In a small saucepan, heat the heavy cream until it just begins to simmer — don’t let it boil.
Pour the hot cream over the chopped chocolate in a bowl. Let it sit for a minute, then stir until smooth and shiny like a chocolatey dream.
Let the ganache cool for 5–10 minutes (so it thickens slightly), then pour it over the cheesecake. Use a spatula to gently spread it toward the edges, letting a little drip down for that irresistible look.
Step 8: Slice and Savor
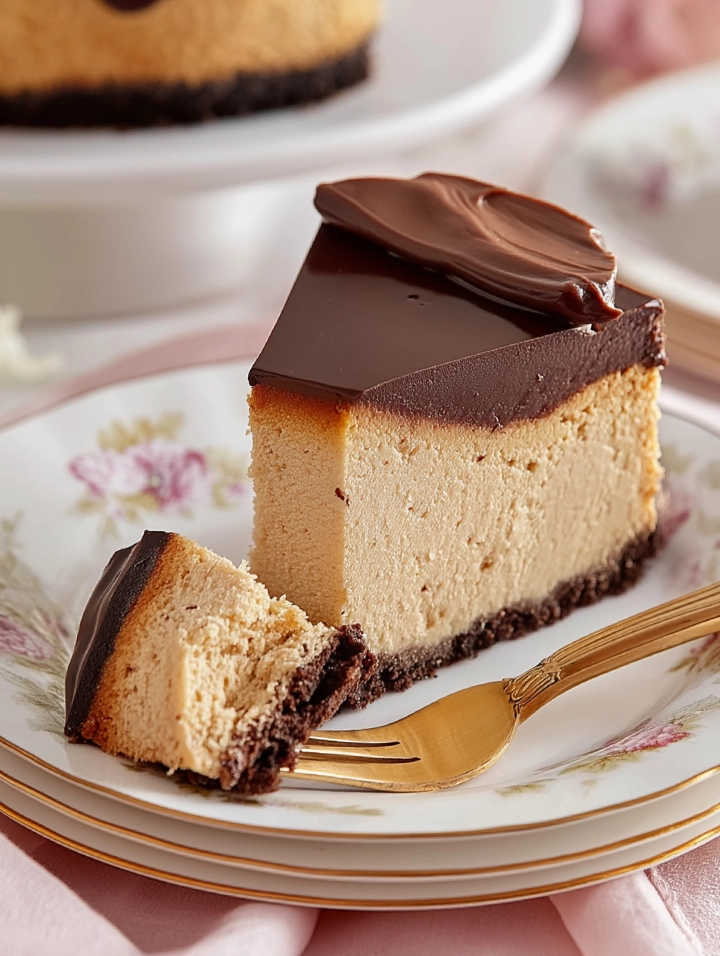
Once the ganache is on, pop the Peanut Butter Cheesecake back in the fridge for about 30 minutes to let the topping firm up.
Then slice with a sharp knife (pro tip: wipe the knife clean between cuts for those Insta-worthy slices).
And just like that — your homemade peanut butter cheesecake is ready to steal the show!
Cooking Tips & Tricks
- Room Temperature Everything: Cold cream cheese and eggs are recipe ruiners. Let your ingredients sit out for about an hour before starting. Trust me, it makes all the difference.
- Don’t Overmix: I know it’s tempting to keep blending until it’s silky-smooth, but overmixing = cracks. Beat just until combined.
- Water Bath Wisdom: Always wrap the springform pan well. Even the tiniest leak can turn your crust into a soggy mess.
- Ganache Glamor: Let the ganache cool before pouring. Hot ganache will melt the cheesecake top — and not in a cute way.
- Patience is a Virtue: Cheesecakes need time to chill and set. No shortcuts unless you want cheesecake soup (and nobody wants that).
Personal Anecdotes
The first time I baked this peanut butter cheesecake is a memory I’ll always cherish.
It was a rainy Saturday, my kids were bouncing off the walls, and I desperately needed a distraction (and honestly, some chocolate therapy).
One bite of this creamy, chocolate-drizzled beauty, and suddenly the rain sounded romantic instead of chaotic.
Now, it’s a must-have at every family gathering — my sister even tried to “reserve” half of it once before the meal started!
Storage Tips for Peanut Butter Cheesecake
Congratulations — you’ve created a masterpiece! Now let’s talk about how to keep that peanut butter cheesecake tasting bakery-fresh for as long as possible.
1. Refrigeration:
Always store your cheesecake covered in the refrigerator. Wrap it lightly with plastic wrap or aluminum foil, or pop it into an airtight container. It will stay fresh for up to 5 days — though honestly, good luck keeping it around that long!
2. Freezing for Later:
Need to prep ahead or save some for future cravings?
Cut the cheesecake into single servings. Cover each piece snugly with plastic wrap, then add a layer of foil to keep them fresh. Store the wrapped slices in a freezer-safe bag or container.
Frozen cheesecake can last up to 2 months!
When you’re ready to indulge, just thaw a slice in the fridge overnight — easy as pie (or cheesecake!).
3. Quick Tip:
Avoid topping with ganache if you plan to freeze the whole cake. Add the ganache fresh after thawing for the prettiest results.
Nutrition Information
Sure, this peanut butter cheesecake is a rich treat — but every once in a while, a little indulgence is good for the soul (and your taste buds).
Here’s a breakdown of what you’re savoring in each glorious slice.
Peanut butter packs a protein punch, while the cream cheese brings that classic richness. The chocolate ganache? Well, that’s just pure happiness in edible form.
While this dessert is certainly decadent, it’s also full of satisfying fats and a little calcium to boot. (See? It’s practically health food. 😉)
Nutrition Facts (per serving):
| Nutrient | Amount per Serving |
|---|---|
| Serving Size | 1 slice (approx. 1/12th of cake) |
| Calories | 620 kcal |
| Total Fat | 44 g |
| Saturated Fat | 20 g |
| Unsaturated Fat | 20 g |
| Trans Fat | 0.5 g |
| Cholesterol | 150 mg |
| Sodium | 340 mg |
| Total Carbohydrates | 45 g |
| Dietary Fiber | 2 g |
| Total Sugars | 32 g |
| Protein | 11 g |
| Calcium | 120 mg (12% DV) |
| Iron | 2.1 mg (12% DV) |
| Potassium | 280 mg (6% DV) |
Other Important Nutrients:
- Vitamin A: 15% DV
- Vitamin D: 4% DV
- Phosphorus: 16% DV
- Magnesium: 8% DV
Cooking Time & Yield
When you’re juggling a million things (hello, life), knowing exactly how much time you need for a recipe can be a total sanity saver. Here’s the full timing breakdown for this dreamy peanut butter cheesecake — because your time is precious!
| Stage | Time |
|---|---|
| Prep Time | 25 minutes |
| Cook Time | 1 hour 15 minutes |
| Chilling Time | Minimum 6 hours (overnight is best) |
| Ganache Prep Time | 10 minutes |
| Total Time | About 8 hours (includes chilling) |
Note: Most of that total time is hands-off while the cheesecake chills and sets. More time for you to binge-watch your favorite show or sneak a few chocolate chips from the bag!
Yield
- Yield: 1 cheesecake
- Servings: Approximately 12 generous slices
(Or honestly… 8 slices if you’re having a day and really need that extra comfort!)
Cuisine
- Cuisine: American
Inspired by the rich, creamy desserts we all grew up loving — this peanut butter cheesecake brings a modern, homemade twist to a classic American sweet tooth favorite.
If there’s one dessert that guarantees smiles around the table, it’s this peanut butter cheesecake. Whether you’re celebrating a birthday, bringing a show-stopping treat to the office, or simply spoiling yourself after a long week, this Peanut Butter Cheesecake shows up and shows off without making you break a sweat.
The creamy, peanut-buttery filling, the chocolatey cookie crust, and that silky ganache topping — it all comes together into a slice of pure happiness you’ll want to bookmark, share, and maybe even guard from eager hands! (No judgment here if you hide a piece in the back of the fridge.)
Honestly, once you make this peanut butter cheesecake, it might just earn a permanent spot in your dessert rotation — the kind of recipe you’ll pass down, rave about, and maybe even sneak a slice of for breakfast. After all, life’s too short to skip cheesecake!
Frequently Asked Questions
Can I substitute crunchy peanut butter for creamy peanut butter?
Absolutely! If you love a little extra texture in your peanut butter cheesecake, go ahead and use crunchy peanut butter. Just keep in mind, it will add a slight crunch to the otherwise silky filling — a fun twist if you ask me!
Can I use a store-bought crust instead of making it from scratch?
You sure can! A pre-made chocolate cookie crust will work just fine if you’re in a pinch. However, making the homemade crust gives your peanut butter cheesecake that rich, homemade taste that’s hard to beat.
What’s the best way to store leftover peanut butter cheesecake?
Wrap leftover Peanut Butter Cheesecake slices tightly in plastic wrap or store them in an airtight container in the fridge. You can enjoy your peanut butter cheesecake at its best for around four to five days if properly stored. You can also freeze individual slices for a rainy day treat!
My Peanut Butter Cheesecake cracked on top! What did I do wrong?
Don’t stress — it happens to the best of us! Overmixing the batter or sudden temperature changes can cause cracks. The chocolate ganache creates a smooth finish that hides any small flaws, giving your peanut butter cheesecake a perfect look and rich flavor, Explore more chocolate ganache with this Homemade Chocolate Strawberry Cake topped with ganache and berries.”.
Can I make this peanut butter cheesecake ahead of time?
Yes! In fact, it’s even better if you do. Letting the Peanut Butter Cheesecake chill overnight gives it the perfect creamy texture. Just hold off on the ganache until you’re ready to serve for the freshest look.
