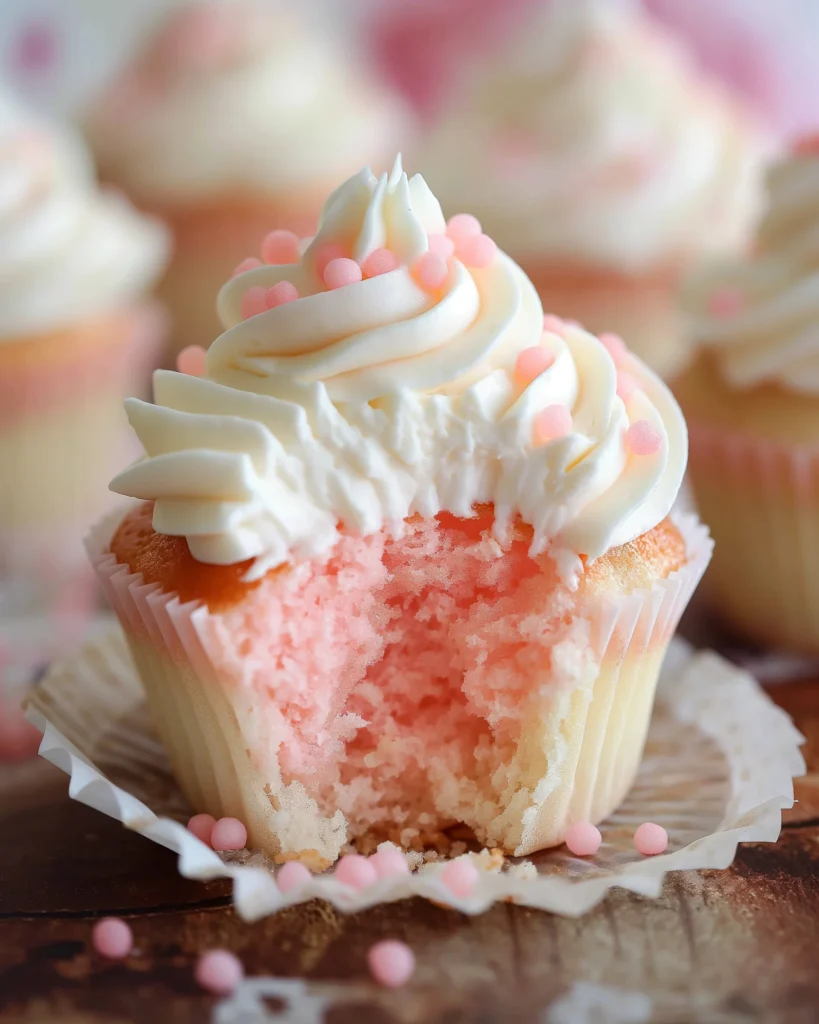
Let’s be honest—some days call for a little extra sweetness (and a pop of pink). Whether you’ve got a bake sale in the morning, a birthday party to prep for, or you just need a little mood boost after a hectic work week, these pink cupcakes have your back. They’re soft, lightly sweet, and dressed in the dreamiest cream cheese frosting—basically, edible happiness.
And hey, we know you’ve got a lot on your plate—between juggling work, kids, errands, and trying to drink water like an adult. So here’s a recipe that’s not only easy but makes you look like you totally have your life together. You don’t need fancy tools or obscure ingredients—just some staples from your pantry, a touch of food coloring, and a pinch of patience (though even that’s optional).
What makes these Pink Cupcakes a total win? The joy of putting them together is just as delightful as savoring each bite. If you’re looking for another easy dessert, check out this Pineapple Dump Cake. Make them on your own or bring the kids in for some hands-on fun—it’s less about perfection and more about laughter (and a few extra sprinkles). Trust me, they’re just as delicious as they are adorable.
So, tie up your hair, crank up your favorite playlist, and let’s bake something beautiful. These pink cupcakes are waiting to make your day a little brighter.
Contents
- 1 Why You’ll Love These Pink Cupcakes 🌸
- 2 What You’ll Need (No Fancy Gear Required)
- 3 Ingredients Breakdown (Reordered for Flow & Ease)
- 4 🛠 Equipment You’ll Need
- 5 👩🍳 Step-by-Step: How to Make the Best Pink Cupcakes
- 6 🎂 Frosting Time: Making the Dreamiest Cream Cheese Topping
- 7 🧁 Cooking Tips for Foolproof Pink Cupcakes
- 8 👩👧 A Sweet Little Story Behind These Pink Cupcakes
- 9 🧊 Storage Tips for Your Pink Cupcakes
- 10 🍓 Pink Cupcakes Nutrition Facts
- 11 ⏱️ Time to Bake Up Some Joy
- 12 💬 Frequently Asked Questions About Pink Cupcakes
- 12.1 Can I substitute buttermilk in this recipe?
- 12.2 What if I don’t have pink food coloring?
- 12.3 Can I make these pink cupcakes ahead of time?
- 12.4 Can I freeze pink cupcakes?
- 12.5 Is there a dairy-free version of this recipe?
- 12.6 How should I store leftover pink cupcakes?
- 12.7 Can I turn this into a pink cake instead of cupcakes?
Why You’ll Love These Pink Cupcakes 🌸
- They’re quick, beginner-friendly, and kid-approved.
- Soft as a cloud with a gentle touch of sweetness, each bite feels like a treat.
- The vibrant hue brings a pop of cheer—ideal for celebrations or simply brightening an ordinary day.
- That creamy dreamy frosting? Absolute chef’s kiss.
What You’ll Need (No Fancy Gear Required)
- Mixing bowls (one for dry, one for wet)
- Electric mixer or some solid wrist strength
- Cupcake pan + liners
- Measuring cups and spoons
- Use a frosting spatula—or just grab a butter knife if you’re going for that no-fuss, homemade vibe
Ingredients Breakdown (Reordered for Flow & Ease)
For the Pink Cupcakes:
- ½ cup granulated sugar
- ½ cup cold butter, cut into pieces
- 2 eggs
- 1 teaspoon vanilla extract
- ½ cup buttermilk
- Add 6 to 8 drops of pink coloring—or more if you’re feeling bold and playful with the shade!
- 1 ¼ cups all-purpose flour
- ¾ teaspoon baking powder
- ¼ teaspoon baking soda
- ¼ teaspoon salt
For the cream cheese frosting:
- 4 ounces cream cheese, softened
- ½ cup butter, softened
- 3 cups powdered sugar
- 1 teaspoon vanilla extract
- 1–2 tablespoons half-and-half or heavy cream
🛠 Equipment You’ll Need
Forget the fancy bakery run—you probably have everything you need sitting right in your kitchen:
- 2 mixing bowls (one for dry, one for wet)
- Electric mixer (or a hand whisk if you’re ready to work those arms)
- Measuring cups and spoons
- Rubber spatula or wooden spoon
- Cupcake/muffin tin
- Cupcake liners (bonus points if they’re cute and match the pink vibe)
- Cooling rack
- Small offset spatula or butter knife (for frosting)
- Toothpick (for doneness check—trust me, it’ll be your best friend)
👩🍳 Step-by-Step: How to Make the Best Pink Cupcakes
Step 1: Preheat and Prep
Before we get to the mixing magic, go ahead and preheat your oven to 350°F (175°C). This is one of those “don’t forget!” steps. A properly heated oven means evenly baked cupcakes with that golden dome we all dream of. Line your cupcake tin with paper liners—because nobody wants their Pink Cupcakes sticking like a stubborn toddler at daycare drop-off.
Step 2: Mix the Dry Ingredients
In a medium-sized bowl, combine 1 ¼ cups all-purpose flour, ¾ teaspoon baking powder, ¼ teaspoon baking soda, and ¼ teaspoon salt. Give it a quick whisk. This step may feel like you’re just pushing powder around—but it helps evenly distribute the rising agents, which keeps every cupcake puffed to perfection. Think of it like fluffing up a pillow before bedtime.
Step 3: Beat the Butter and Sugar
In a large bowl, toss in ½ cup cold, cubed butter and ½ cup granulated sugar. Beat with an electric mixer on medium-high until the mixture is light and fluffy—about 2 to 3 minutes. Don’t rush this part! It’s where the magic of texture starts to happen. This step gives your Pink Cupcakes that soft crumb we all crave.
Step 4: Add Eggs and Vanilla
Crack in the 2 eggs, one at a time, beating well after each addition. Then, stir in 1 teaspoon of vanilla extract. If your kids (or, let’s be honest, you) love licking the beaters, this is the moment.
Step 5: Add the Buttermilk and Food Coloring
Pour in ½ cup of buttermilk. This not only adds richness but gives a gentle tang that balances out the sweetness. Now comes the fun part—add 6 to 8 drops of pink food coloring. Stir gently until the color is evenly distributed. Want a more vibrant pink? Go for it. Want it pastel and subtle? That’s beautiful too. These are your pink cupcakes; own the shade.
For a light and flavorful cake, this Mandarin Orange Cake is an excellent choice.
Step 6: Combine Wet and Dry
Gradually add the dry mixture into the wet batter, mixing on low until just combined. Be careful not to overmix here. You want everything to come together smoothly, but you also don’t want to work the batter too much—it can make your Pink Cupcakes tough, and these babies are meant to be tender.
Step 7: Scoop and Bake

Spoon the batter into the cupcake liners, aiming to fill each one about two-thirds full. Whether you use a scoop, a regular spoon, or just go with your gut—it all works. Bake them for 16 to 25 minutes, and check doneness by poking a toothpick into the center; if it comes out clean, they’re good to go. And if your kitchen smells like sugary sunshine, you’re doing it just right.
Step 8: Cool Completely
Once baked, let the Pink Cupcakes sit in the tin for about 5 minutes, then transfer them to a cooling rack. Do not—and I repeat, do not—frost warm cupcakes. The frosting will melt faster than ice cream on a summer sidewalk. Give them time to cool completely. Trust the process.
🎂 Frosting Time: Making the Dreamiest Cream Cheese Topping
Step 9: Cream Together the Butter and Cream Cheese
In a large mixing bowl, beat 4 ounces of softened cream cheese and ½ cup softened butter until smooth. This duo is like peanut butter and jelly—meant to be. Beat them until they’re creamy and well combined.
Step 10: Add Vanilla and Powdered Sugar
Mix in 1 teaspoon of vanilla extract. Then slowly add 3 cups of powdered sugar, about 1 cup at a time. This part gets a little dusty, so go slow unless you want to look like you just walked through a sugar blizzard.
Step 11: Adjust Consistency
To get the perfect texture for spreading or piping, add 1 to 2 tablespoons of half-and-half (or heavy cream). Beat until the frosting is fluffy and dreamy. Not too runny, not too stiff—just right. Like a cozy sweater on a chilly day.
Step 12: Frost Like a Pro (Or Close Enough)
Use a spatula or butter knife to frost each cooled cupcake. Want to go fancy? Fill a piping bag and swirl away. Want to keep it casual? A generous smear works just as well. Top with sprinkles, edible glitter, or even a fresh berry—because life’s too short for boring cupcakes.
🧁 Cooking Tips for Foolproof Pink Cupcakes
Don’t Overmix
Once you combine the dry and wet ingredients, mix just until the batter comes together. Think of it like folding laundry—not something you want to spend hours on. Overmixing makes dense cupcakes, and we’re going for soft and fluffy.
Room Temp Ingredients Are Your Friend
Cold eggs and butter straight from the fridge? Not your besties today. Set them out in advance so they mix more evenly and give you that smooth, creamy batter.
Use a Cookie Scoop
Want perfectly portioned cupcakes without the mess? A medium cookie scoop is your low-key secret weapon. It keeps your liners neat and ensures even baking. Plus, no more guessing games.
Color Control
Add food coloring a drop at a time. You can always add more, but once your batter’s neon, there’s no going back. Unless your kid’s birthday party theme is “Highlighter Pink,” then hey—go for it!
Test Before You Frost
Always check cupcakes with a toothpick before pulling them out of the oven. If it comes out clean or with a few crumbs, you’re golden. If it looks like wet batter, give it a couple more minutes.
No Buttermilk? No Problem
Mix ½ cup milk with 1 ½ teaspoons of lemon juice or vinegar. Give it about five minutes to rest, and just like that—you’ve got your own homemade buttermilk ready to go. Your pink cupcakes won’t know the difference.
Let Them Cool All the Way
I know, I know—it’s hard to wait. But frosting warm cupcakes is like applying makeup on a sweaty face. The results will slide off. Let patience be your secret ingredient here.
Piping Shortcut
No piping bag? No piping bag? No worries. Just spoon your frosting into a resealable plastic bag, cut off a tiny corner, and you’ve got yourself an instant decorating hack—easy, neat, and no extra cleanup.
👩👧 A Sweet Little Story Behind These Pink Cupcakes
This recipe actually started as a last-minute idea for my daughter’s class party. I skipped the grocery run, but luckily, everything I needed was already in my pantry. I threw it together, tossed in some pink food coloring on a whim (because she’s in her “everything must be pink” era), and hoped for the best.
By the time I picked her up from school, three other moms had asked for the recipe, and a little boy had declared them “the best Pink Cupcakes ever” with frosting on his nose and a big goofy grin. Since then, they’ve become a go-to for birthdays, baby showers, and random Tuesdays that just need a little sparkle.
🧊 Storage Tips for Your Pink Cupcakes
You’ve just whipped up some stunning pink cupcakes—what’s the next move? Want them to stay flavorful and delicious? Just follow these simple tips:
Room Temperature (Short-Term):
If you’re enjoying the pink cupcakes in the next day or two, pop them into a sealed container and leave them somewhere cool and dry—just keep them out of the sun and away from anything warm. The frosting holds up well in moderate conditions but may soften in warm rooms.
Refrigerator (Mid-Term):
Store your pink cupcakes in a sealed container in the fridge to enjoy them within five days. When you’re ready to serve, let them rest at room temperature for half an hour to soften up. Chilled pink cupcakes tend to get a bit dense and lose their soft, airy texture until they’ve had time to come back to room temperature.
Freezer (Long-Term):
Cupcakes (without frosting) freeze beautifully. Individually wrap each plain cupcake in cling film, then store them together in a sealed freezer bag or a tightly covered container to keep them fresh. They’ll keep well for up to 3 months. When ready to enjoy, thaw at room temp for an hour or two, then frost fresh.
Frosted Freezing?
You can freeze frosted cupcakes, but it’s best to pre-freeze them uncovered on a tray first (for about an hour), then wrap them gently in plastic wrap and store in a container. Thaw overnight in the fridge, after that bring to room temp before serving.
Avoid Moisture Madness:
Humidity is the enemy of cupcake texture. Always store them in dry conditions to keep that perfect crumb intact.
🍓 Pink Cupcakes Nutrition Facts
These Pink Cupcakes are a sweet treat, so while they’re not a kale salad, they still bring joy in every bite. Here’s what you’re working with, nutrition-wise—based on a single cupcake with frosting:
Each cupcake is designed to satisfy your sweet tooth without going overboard. With around 235 calories, they make a perfectly portioned Pink Cupcakes or celebratory bite. The balance of fats—thanks to real butter and cream cheese, it keeping the texture light.
You’ll get a little bit of protein and some calcium from the dairy, plus a surprising dash of iron from the flour. These aren’t diet cupcakes, but they’re homemade and made with love, which means you control the ingredients—no mystery oils or shelf-stable weirdness here.
And while they don’t qualify as a “healthy” food, they do deliver happiness in a soft, frosted package. As with any indulgence, the key is moderation—and these are worth every bite.
Here’s the full breakdown:
| Nutrient | Per Serving (1 cupcake with frosting) |
|---|---|
| Serving Size | 1 cupcake (approx. 75g) |
| Calories | 235 kcal |
| Total Fat | 11 g |
| Saturated Fat | 6.5 g |
| Unsaturated Fat | 3.8 g |
| Trans Fat | 0 g |
| Cholesterol | 40 mg |
| Sodium | 145 mg |
| Total Carbohydrates | 30 g |
| Dietary Fiber | 0.5 g |
| Sugars | 20 g |
| Protein | 2.8 g |
| Calcium | 45 mg |
| Iron | 0.9 mg |
| Potassium | 60 mg |
Other Notables:
- Contains small amounts of Vitamin A and D from butter and cream cheese.
- Made without artificial preservatives or hydrogenated oils.
- Naturally trans-fat-free.
⏱️ Time to Bake Up Some Joy
Whether you’re whipping up a batch for a birthday bash, a baby shower, or just a Tuesday that needs a little sparkle—these pink cupcakes won’t keep you trapped in the kitchen all day. Here’s the full time breakdown so you know exactly what you’re committing to (spoiler: not much!):
| Prep Time | 15 minutes |
|---|---|
| Cook Time | 18–20 minutes |
| Chilling Time | 30 minutes (for frosting to set nicely) |
| Total Time | About 1 hour 5 minutes |
Optional Cooling Time: If you’re not frosting immediately, allow cupcakes to cool an extra 15 minutes to avoid frosting meltdown (we’ve all been there).
🍰 Yield
| Yield | 12 standard cupcakes |
|---|---|
| Mini Version Yield | Approx. 24 mini cupcakes |
| Double Batch | Easily doubled for parties or potlucks |
Planning a bigger crowd? Just double the ingredients and prep two muffin pans—these beauties go fast!
🌍 Cuisine
| Cuisine Type | American |
|---|
This Pink Cupcakes recipe is a true American classic with a touch of whimsy—perfect for celebrations, school events, or those “just because” baking moods. From its simple ingredients to its buttery-sweet charm, it’s all about homemade goodness in the most colorful form.
So, there you have it—your ticket to turning an ordinary afternoon into something a little sweeter and a whole lot more fun. Whether you’re baking solo with your favorite playlist on, or getting the kids involved for a sprinkle-fueled kitchen adventure, these pink cupcakes are the kind of treat that brings smiles before they’re even out of the oven.
They’re soft, fluffy, and dressed in the prettiest shade of pink—because sometimes, we all just need a little extra color in our lives. And that cream cheese frosting? It’s the kind of creamy magic that makes you wonder why you ever bought store-bought icing in the first place.
💬 Frequently Asked Questions About Pink Cupcakes
Can I substitute buttermilk in this recipe?
Absolutely! If you’re out of buttermilk, you can mix ½ cup of milk with 1½ teaspoons of white vinegar or lemon juice. Let it sit for about 5 minutes, and voilà—homemade buttermilk that keeps your pink cupcakes just as fluffy.
What if I don’t have pink food coloring?
No worries! You can use red food coloring—just go easy with the drops to avoid neon pink cupcakes. You’re aiming for soft and sweet, not fire truck fabulous (unless that’s your vibe!).
Can I make these pink cupcakes ahead of time?
Yes! Bake them a day in advance and store them (unfrosted) in an airtight container at room temperature. Add the frosting the next day for the freshest, fluffiest finish.
Can I freeze pink cupcakes?
Totally. Freeze the unfrosted cupcakes for up to 2 months. Seal each one up tight, then stash in a freezer bag. When you’re ready, thaw at room temperature and frost once they’re completely defrosted.
Is there a dairy-free version of this recipe?
You bet. Swap the butter for a plant-based alternative and use dairy-free cream cheese and milk. Your pink cupcakes will still come out tasting like a dream. For another gluten-free option, these rich Gluten-Free Chocolate Cupcakes are worth a try.
How should I store leftover pink cupcakes?
Store them in an airtight container in the fridge if they’re frosted (thanks to the cream cheese). Let them sit at room temp for 15–20 minutes before serving to bring back that soft, cake-like texture.
Can I turn this into a pink cake instead of cupcakes?
Yep! Transfer the mixture into a lightly oiled 8-inch baking dish and let it cook in the oven for about 22 to 28 minutes, or until a toothpick comes out clean. Keep an eye on it—it’s done when a toothpick comes out clean and your kitchen smells like happiness.